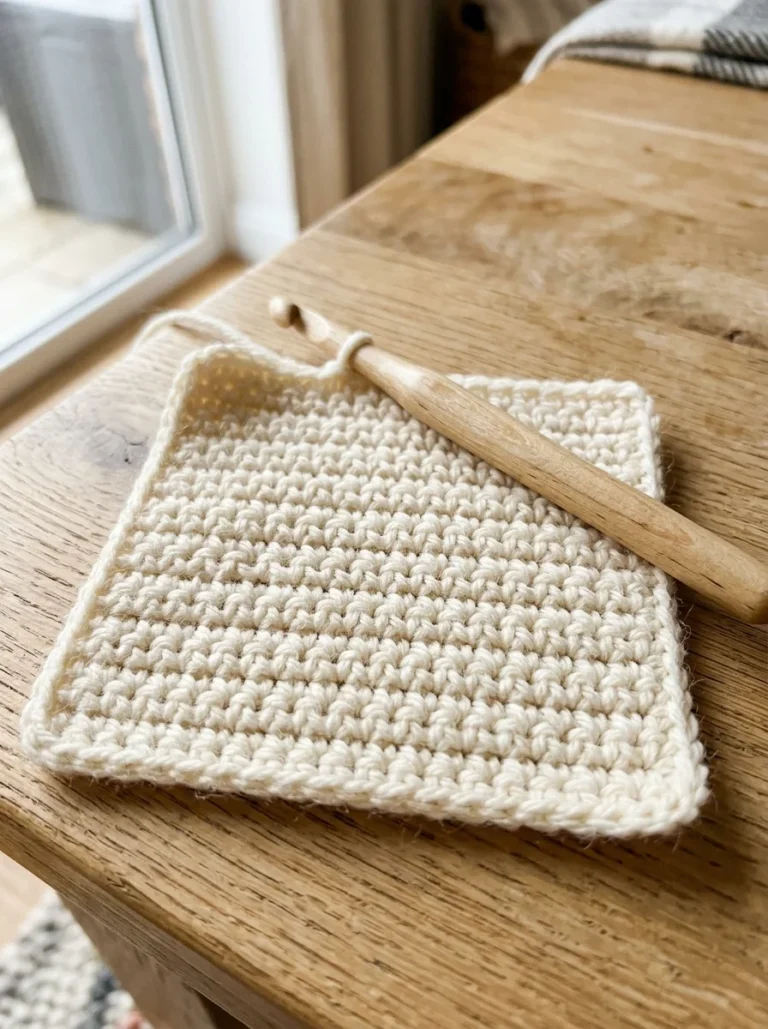
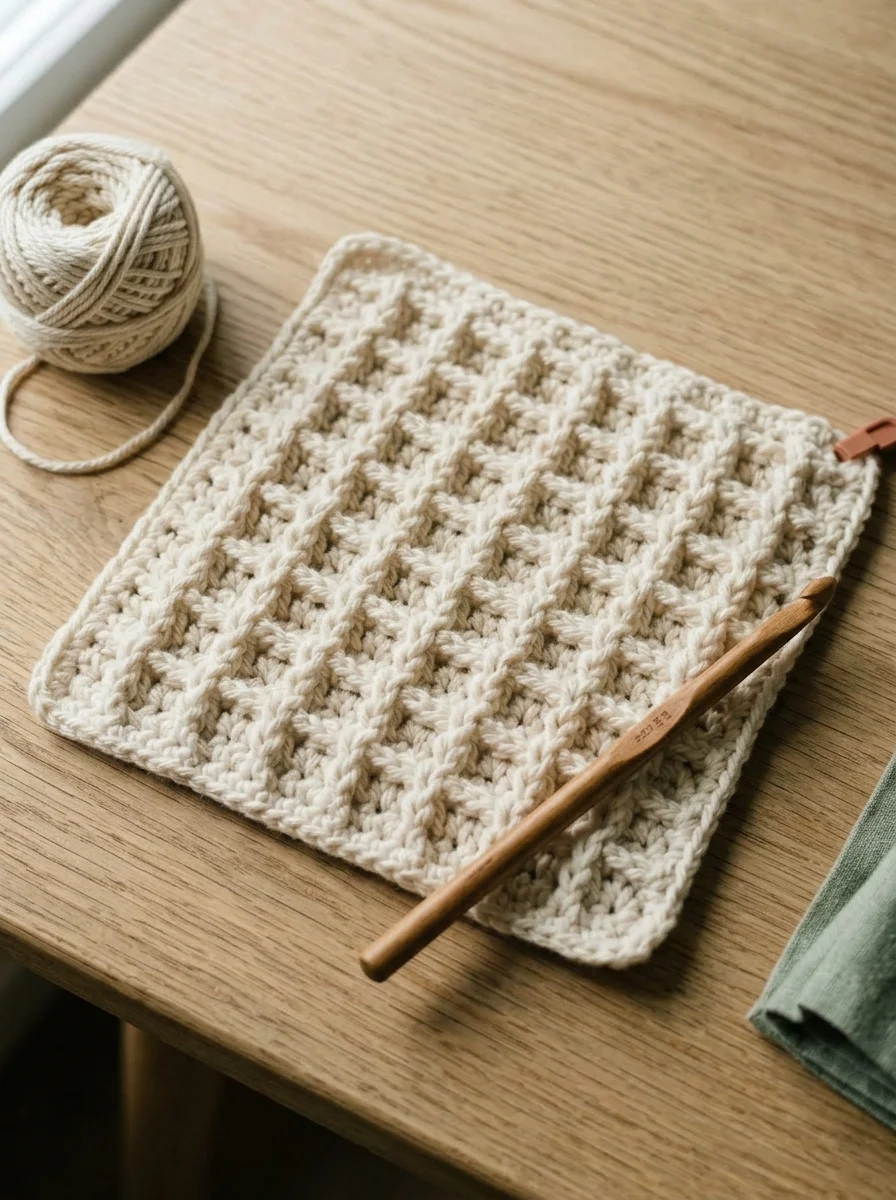
Crochet Waffle Stitch: How to Work the Deep, Squishy Grid Texture
The crochet waffle stitch looks like something only an experienced crocheter could make. It has a deep grid of little square pockets, the fabric feels thick and springy, and it drapes well enough for a blanket. Yet it is built from one stitch you probably know already, the double crochet, worked in two ways. The only new idea is the post stitch, and that takes one afternoon to get used to.
This tutorial teaches the front post double crochet first, then gives you a full swatch pattern with a stitch count for every row. After that you’ll find yarn advice, a list of the mistakes that ruin the grid, and project ideas. Everything uses US terms.
Who This Stitch Suits
You should be comfortable with chains, single crochet and double crochet before you begin. If those still feel shaky, spend a few evenings with our easiest crochet stitch guide first. The waffle stitch is not difficult, but it punishes uneven tension more than flat stitches do, and you will enjoy it far more once your hands have a steady rhythm.
How the Waffle Texture Is Made
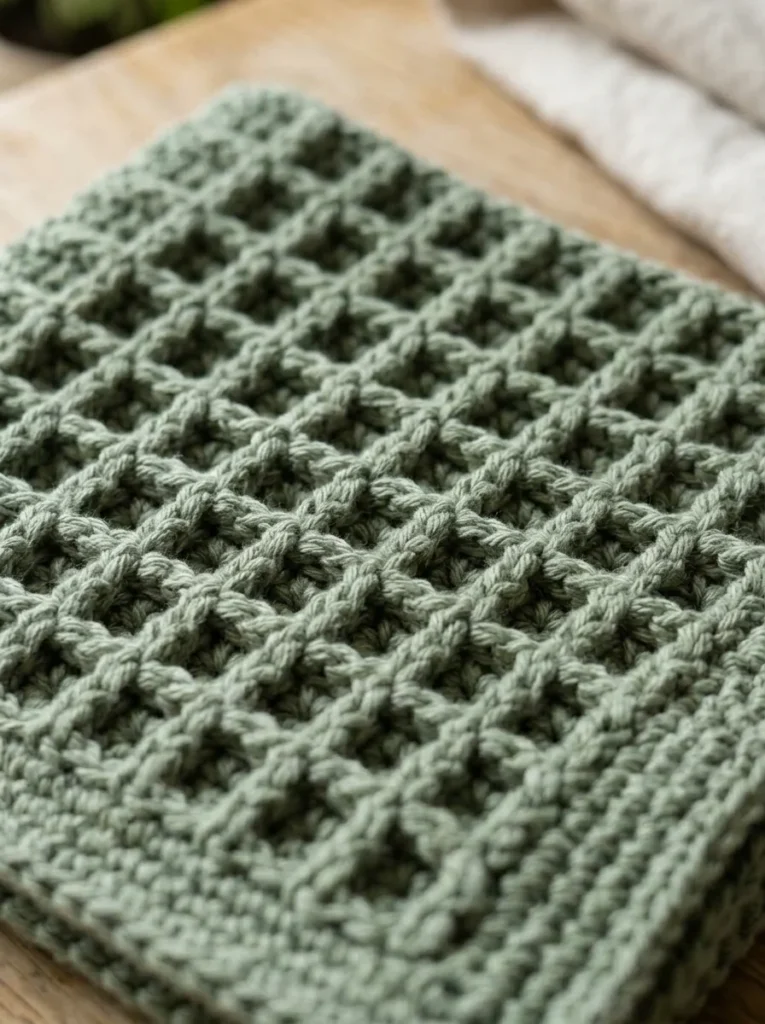
Ordinary double crochet goes into the two loops at the top of a stitch. A post stitch goes around the stem, or post, of a stitch in the row below. Because the hook wraps around the stem, the new stitch sits slightly in front of the fabric and pushes forward. Put several of these next to plain double crochets and you get raised columns beside flat ones. Row after row, the raised parts line up into ridges, and the flat parts become the pockets between them.
That is the whole secret. The grid is not a special technique, only post stitches and plain stitches placed in a repeating order.
The fabric is also heavy. Every post stitch travels around a stem, so it uses more yarn than a normal double crochet, and the rows sit close together. Expect the finished piece to be noticeably thicker and to use more yarn than a plain double crochet piece of the same size. Buy a little extra before you start a blanket.
Learn the Front Post Double Crochet
Practice this on its own before you follow the pattern. Chain 12, work a row of double crochet, and then try the following on your second row.
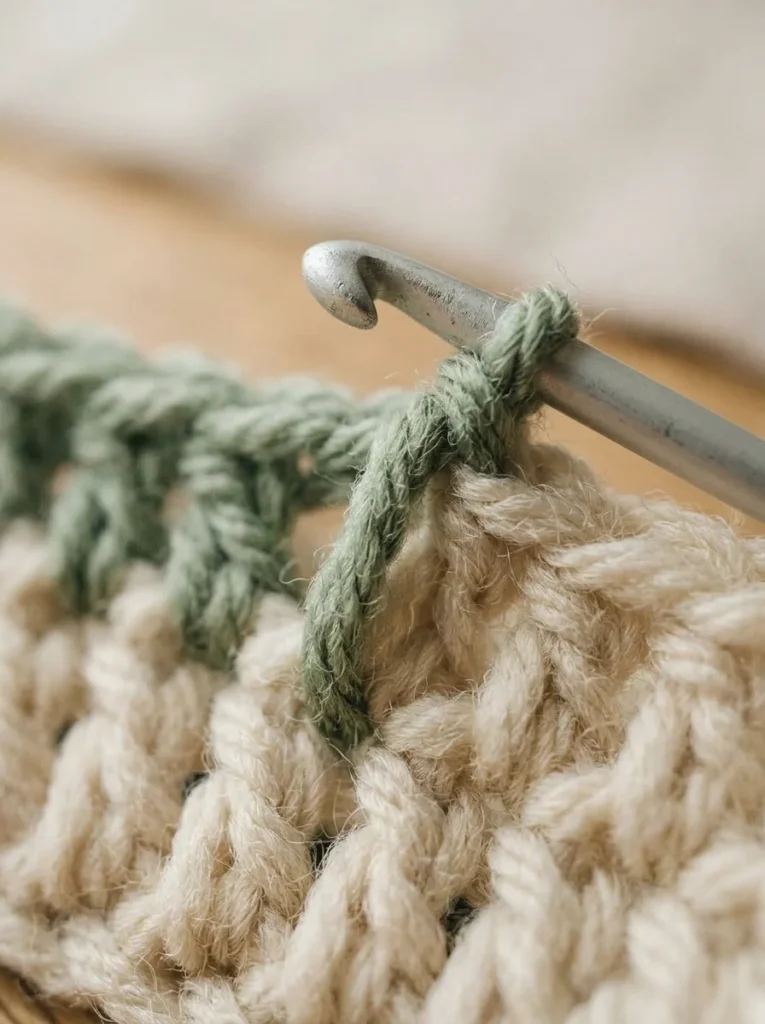
Yarn over as if for a normal double crochet. Now look at the row below and find the stem of the next stitch. It is the vertical bar under the two top loops. Push the hook in from the front, to the right of that stem, and bring it out at the back to the left of it, so the stem sits between your hook and the fabric. Then yarn over and pull up a loop. You will have three loops on the hook. Yarn over and pull through two loops, then yarn over and pull through the last two.
The mistake nearly everyone makes at the start is inserting the hook into the top of the stitch out of habit. If your post stitch doesn’t stand out, you almost certainly went into the top loops. Slow down, find the stem with your fingertip, and go around it on purpose.
What You Need
A smooth worsted-weight yarn is the easiest to learn on. Cotton gives the sharpest grid and stays flat, which is why it suits dishcloths. Acrylic makes a softer, bouncier fabric and is fine for blankets. Wool has good spring but can make the pockets look fuzzy. Pick a light or medium color so that you can see the posts, and avoid dark or textured yarn for your first swatch. The Craft Yarn Council lists the standard yarn weight categories if you are unsure what worsted means.
For the hook, use the size on the yarn label or one size up, for example 5.0 mm. Post stitches tighten the fabric, and a slightly larger hook keeps it from becoming stiff. You will also need scissors and a yarn needle.
Waffle Stitch Swatch Pattern
This swatch uses 20 stitches. You can make it wider by adding stitches in multiples of three. The starting chain does not count as a stitch in any row, so ch 2 at the start of a row is a lift, not a stitch.
Abbreviations: ch = chain, st = stitch, dc = double crochet, fpdc = front post double crochet.
Foundation: Ch 22.
Row 1: Dc in the 3rd chain from the hook and in every chain across. Turn. (20 sts)
Row 2: Ch 2. Dc in the first st. Fpdc in the next st, dc in the next 2 sts. Repeat 6 times. Fpdc in the last st. Turn. (20 sts)
Row 3: Ch 2. Dc in the first st. Fpdc in the next 2 sts, dc in the next st. Repeat 6 times. Fpdc in the last st. Turn. (20 sts)
Rows 4 to 13: Repeat rows 2 and 3 five more times. Fasten off and weave in the ends.
Check the count as you go. Row 2 breaks down as 1 dc, then 6 groups of 3 stitches (18 sts), then 1 fpdc, which gives 20. Row 3 has the same total. If a row comes out to 19 or 21, stop and find where a stitch was skipped or doubled before you continue.
To change the size: for a wider piece, chain any number that is a multiple of 3 plus 1, work the same rows, and repeat the bracketed section more times. A chain of 31 gives 29 stitches and 9 repeats.
Worked in worsted yarn on a 5.0 mm hook, this swatch usually measures around 10 to 12 cm wide, but your tension will change that. Measure your own swatch and note the result. Knowing that number is what lets you plan a larger project without guessing.
Why the Pattern Alternates the Way It Does
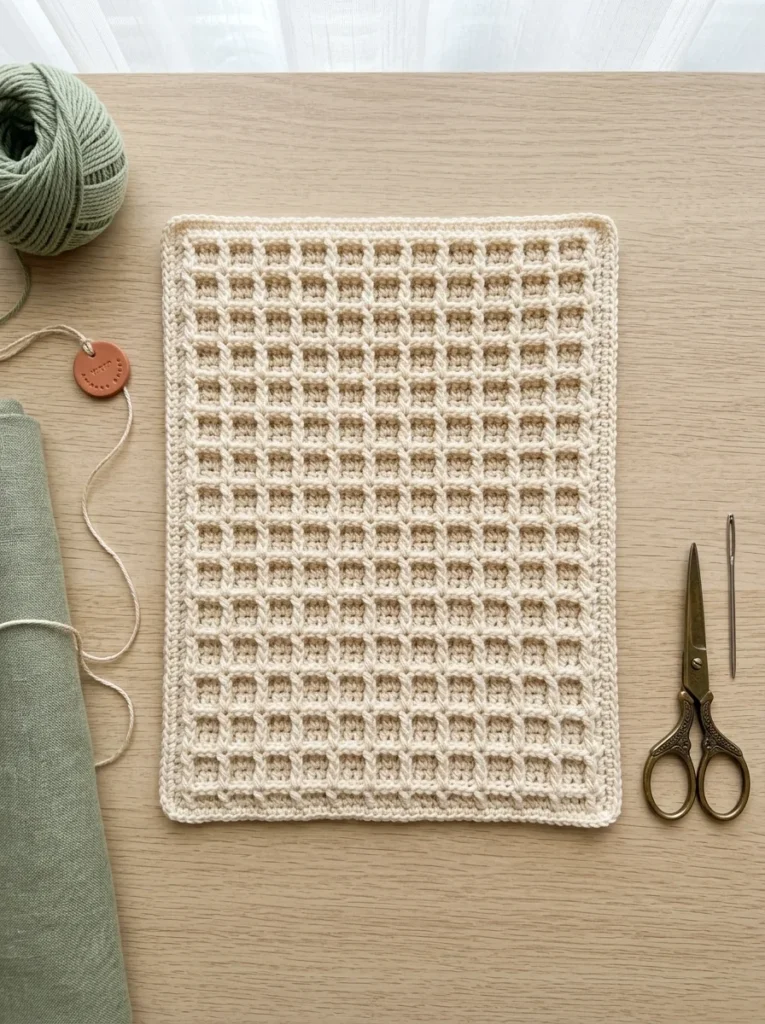
Rows 2 and 3 shift the position of the post stitches by one place each time. Because the raised stitches sit in a different column on alternate rows, the ridges stack into a woven pattern instead of straight lines. If you worked row 2 over and over, you would get plain vertical ribs, which is a perfectly good stitch but not a waffle.
This also explains a common frustration. If you lose your place in a row, the fabric will still look nearly right for a couple of rows and then suddenly go wrong. Mark the right side of your work with a contrasting stitch marker so you always know which row you are on.
Pro Habits That Improve the Fabric
Keep tension the same on post stitches. They pull the fabric and tend to come out tighter than the plain stitches. Let the loop sit a touch looser as you go around the stem.
Never skip the last stitch. In this pattern the last stitch of every row is a post stitch, and it is easy to forget because it looks different from the edge of a plain row. Count at the end of each row until it becomes automatic.
Block lightly. Waffle fabric can curl slightly at the edges. A light steam held above the piece, without pressing, relaxes it. Cotton and wool respond well. Check the yarn label before applying any heat to acrylic, since some acrylics can lose their shape or melt.
Use a wider hook than you think. If the swatch feels like cardboard, go up half a size. A soft grid always looks better than a stiff one.
Common Problems and What Causes Them
The most frequent complaint is that the grid does not appear. This nearly always means the post stitches went into the tops of the stitches, or the pattern has slipped by one place. Undo one row and look at the stems again.
If the edges are wavy, you have gained or lost stitches. Count. If the piece is narrowing, the first or last stitch is being missed. If it is widening, an extra stitch went into the turning chain, which should not happen here because the chain does not count.
If the fabric is stiff, the hook is too small. If it has holes between the posts, the hook is too big or the tension is loose on the yarn overs. The fix for both is to change your hook by half a size and try another swatch.
Project Ideas for the Waffle Stitch
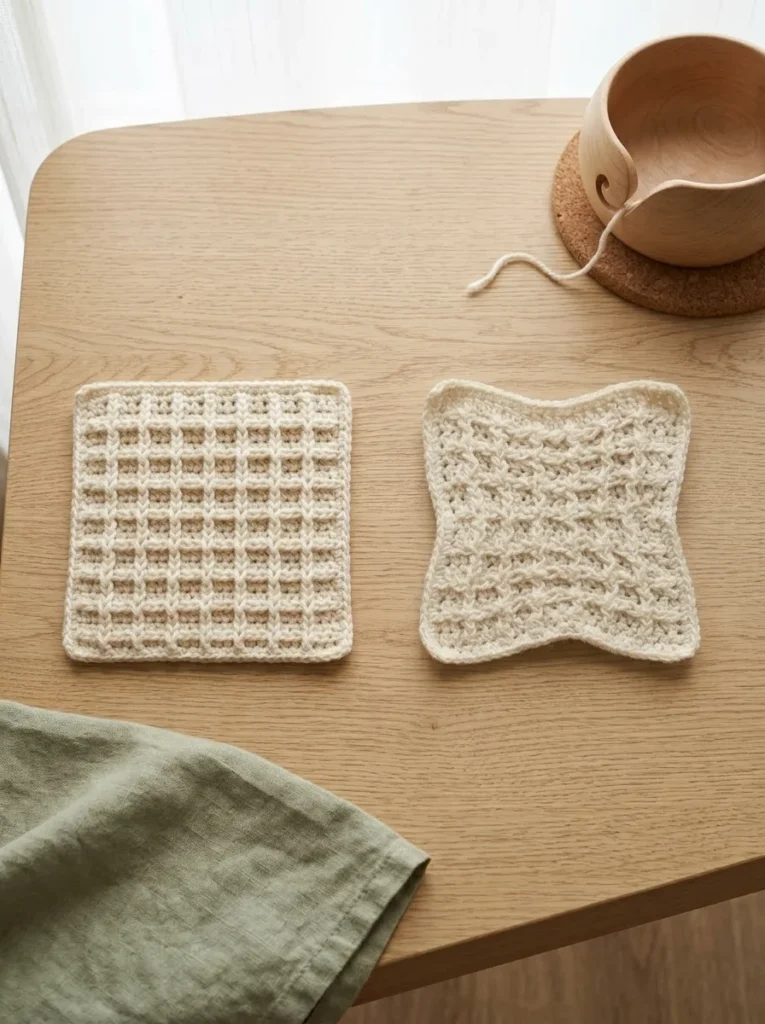
The thickness is what makes this stitch practical. A dishcloth in cotton is the classic first project because the pockets hold water, and a chain of 31 makes a piece of a useful size. A cushion cover shows the texture off well, since it is seen close up. A scarf works if you keep it narrow, because a wide waffle scarf becomes bulky. A baby blanket in a soft acrylic is a good choice, though the stitch is slow, so choose a small size first.
For a larger blanket, read our free crochet blanket patterns guide to see how different stitches behave over a big surface before you commit to a large waffle project. If you would rather practice on something small first, the 30 minute crochet projects for beginners guide has a coaster you can work in this stitch by adapting the pattern above.
To move on from the basics, the free crochet patterns for beginners guide sorts projects by difficulty.
How This Tutorial Was Prepared
Each row above was checked stitch by stitch, so the totals of 20 stitches per row match the instructions. The technique follows standard US terminology and the accepted method for post stitches, where the hook is inserted from the front around the stem. Sizes and time depend on your yarn and tension, so treat the measurements as a guide and record your own swatch. If a step in the pattern doesn’t match your work, please tell us through the contact page and we will look at it.
Questions About the Crochet Waffle Stitch
Is the waffle stitch hard for beginners? It is manageable for a confident beginner who already knows double crochet. The post stitch is the only new movement.
Which yarn is best? Smooth worsted cotton for cloths, and smooth worsted acrylic or wool for blankets and cushions.
Why does my waffle stitch not show a grid? The post stitches probably went into the tops of the stitches. They must go around the stem.
Does the waffle stitch use more yarn? Yes. It is thicker than plain double crochet, so buy extra for larger projects.
What hook size should I use? Start with the size on the label or one size larger, such as 5.0 mm for worsted yarn.
Can I make it with only front post stitches? Yes. This pattern uses only front post stitches together with plain double crochet, so you don’t need back post stitches.
Final Thoughts
The crochet waffle stitch rewards patience more than talent. Make the small swatch, count each row, and keep it as a reference for your own tension. Once the post stitch feels natural, you will find the rest is just counting to three.