Free Crochet Patterns for Beginners: Easy Projects to Start With
Most free crochet patterns for beginners fail in the same quiet way. They tell you what to make, but not what you’re supposed to be learning while you make it. You follow the rows, something goes slightly wrong around row twelve, and you have no idea whether the problem is your hook, your yarn, your tension, or you. So you unravel it, try again, and eventually decide crochet is “not for you.”
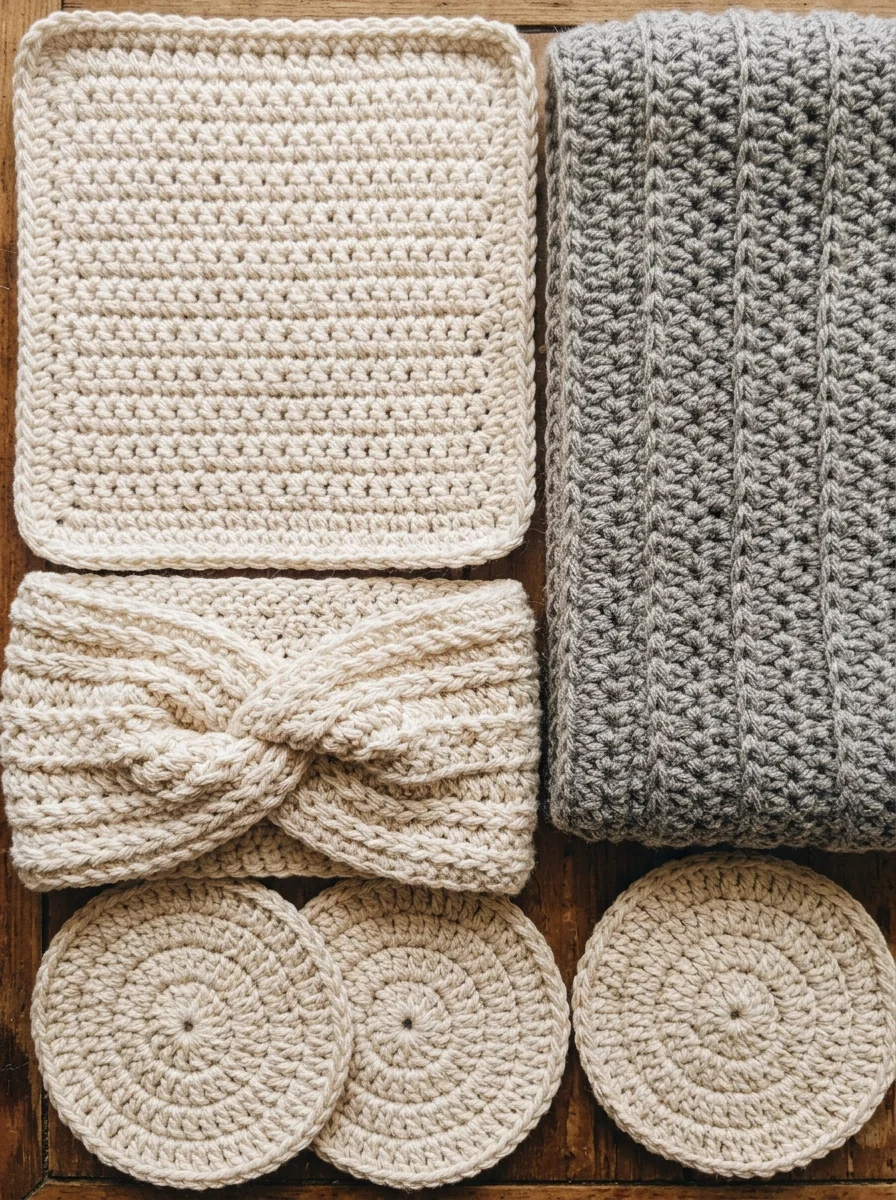
It almost never is a you problem. Crochet is a small set of stitches that repeat, and the gap between a wobbly first attempt and a neat finished piece is mostly a handful of habits nobody explains. This guide is written to close that gap. You’ll learn how to hold your hook, the five stitches that carry you through nearly every beginner project, how to read a pattern without panic, and then four complete original patterns, each one teaching a single new skill: a dishcloth, a round coaster, a headband, and a scarf.
Every pattern here is written in US terms, with stitch counts you can check as you go, and everything is designed so that a mistake costs you an evening at worst, not a whole skein of yarn. You don’t need to read the guide in one sitting. Bookmark it, start with the first project, and come back when you need the next step.
How to Use This Guide
The order matters more than you might think. People who start with a big blanket or a sweater often quit, not because crochet is hard, but because the first ten hours feel like nothing is happening. Small projects give you a finished object quickly, and a finished object teaches you more than an unfinished one ever will.
So the plan is simple. Learn the stitches on a scrap of yarn first, so your hands know the motion. Make the dishcloth to practice straight rows. Make the coaster to practice working in a circle. Make the headband to practice a slightly stretchier stitch and to finish something you can wear. Then make the scarf, which is really just a very long version of what you’ve already done. By the time you finish the scarf, you’ll have made more than a thousand stitches, and it will feel ordinary.
What You Actually Need (and What You Can Skip)
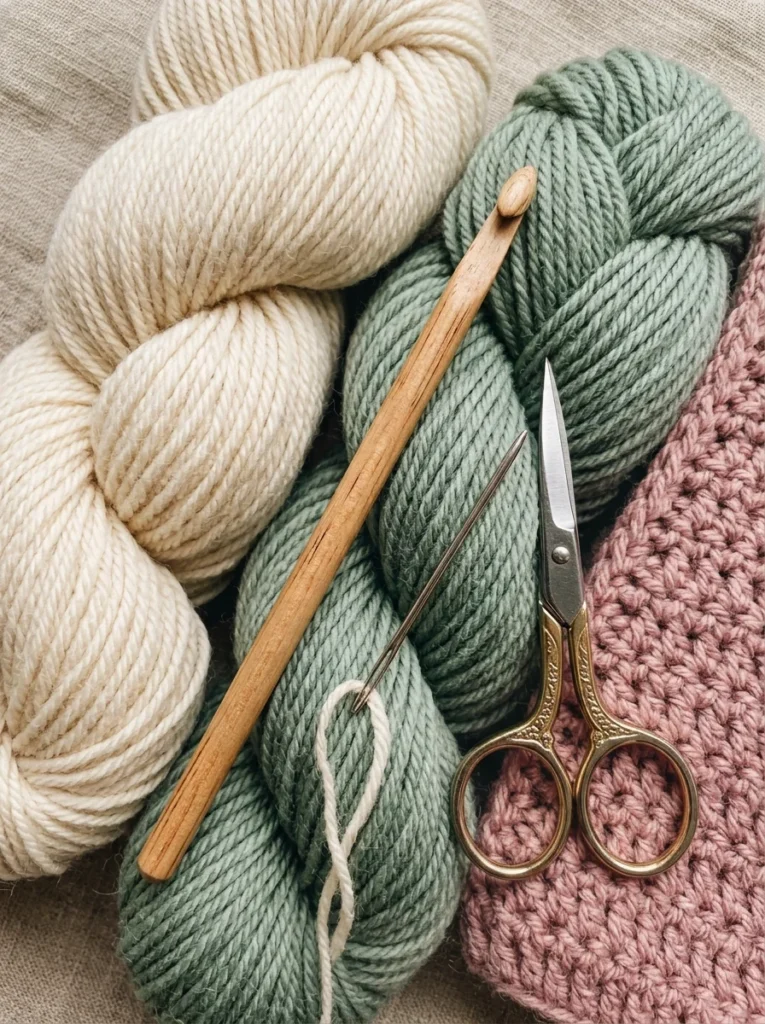
Craft shops will happily sell you a lot of things. To start, you need very little.
Yarn. Choose a smooth, light-colored yarn in worsted weight, which on many labels is shown as a “4” or described as “medium.” For the dishcloth and coaster, a plain cotton is ideal. It’s inexpensive, it doesn’t split easily, and it has just enough firmness to make each stitch easy to see. For the headband and scarf, a soft acrylic or an acrylic-wool blend is friendlier. Avoid black, very dark, or fuzzy yarn for your first projects. Dark yarn swallows the stitches, and fuzzy yarn hides them, so you end up guessing where to put the hook.
Hooks. A 4.0 mm hook works well for cotton dishcloths and coasters, and a 5.0 mm hook is comfortable for worsted acrylic. If you can only buy one hook to begin with, get a 4.5 mm. It’s a reasonable middle, and you can adjust from there. Hooks with a soft or ergonomic handle are worth the small extra cost if your hand tires quickly.
A yarn needle. A blunt needle with a big eye, for weaving in ends. Scissors. Any sharp pair. A tape measure, because guessing lengths is how scarves end up too short.
That’s it. You can skip the stitch markers, the row counters, the yarn bowls, and the kits. You’ll find out later which extras you actually want.
Holding the Hook and the Yarn
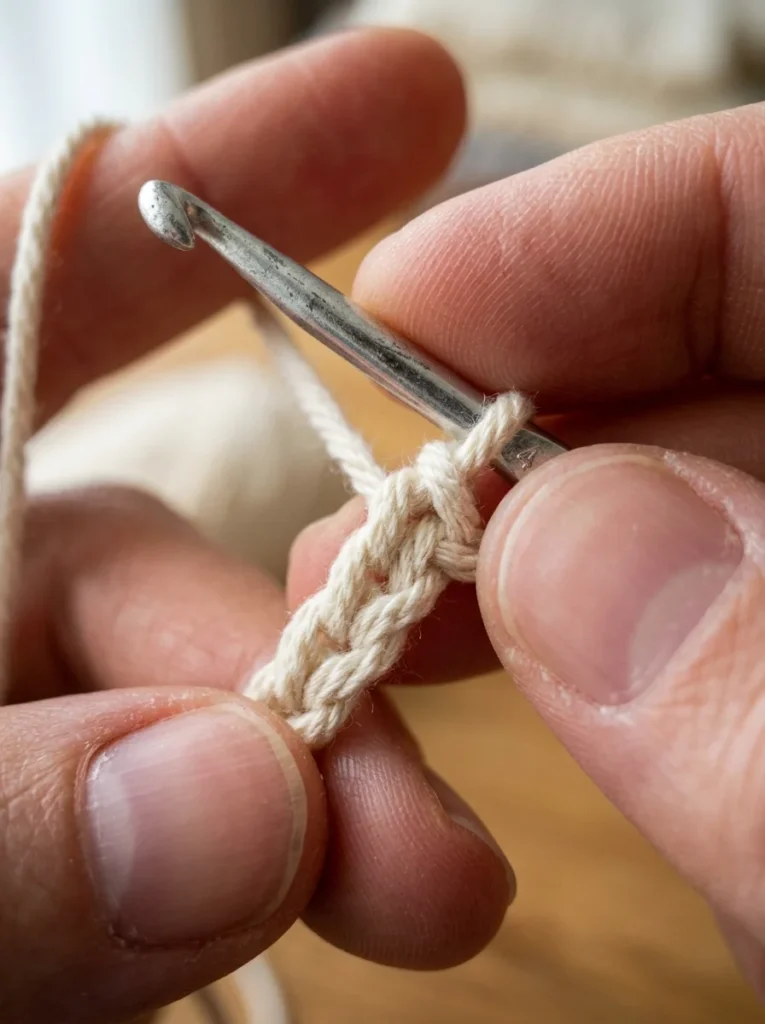
There is no single correct way to hold a crochet hook, and that’s a relief. What matters is that your hands are relaxed and that the yarn has a little tension so it doesn’t slip.
Most beginners hold the hook in one of two ways. In the pencil grip, you hold the hook like a pen, with your thumb and index finger on the flat part of the handle. In the knife grip, you hold it from above, like a knife you’re about to use for cutting. Try both for a few minutes and keep the one that feels less tiring. Left-handed crocheters simply mirror everything: hook in the left hand, yarn in the right, and work in the opposite direction, so a right-handed tutorial can be followed in a mirror.
The other hand controls the yarn. Weave it through your fingers so it runs between your ring and little fingers, over your middle finger, and under your index finger, which you use to hold the working yarn taut. If that sounds fussy, start by simply holding the yarn between your finger and thumb, and use the hand to keep tension while you learn.
Beginners often grip everything much too hard. If your hand aches after ten minutes, your stitches are probably too tight, and they’ll be hard to work into on the next row. Loosen up and let the yarn slide through your fingers.
The Five Stitches That Cover Almost Everything
Every beginner project uses some combination of five stitches. Learn them on a scrap of yarn before you begin a pattern, because it’s much easier to build muscle memory when you’re not worried about a result. If you’d like an even gentler start, our guide to the easiest crochet stitch goes slowly through the very first steps.
The slip knot and the chain (ch). Every piece starts with a slip knot on your hook. To make a chain, wrap the yarn over the hook from back to front (a “yarn over”) and pull it through the loop on your hook. Repeat. Each new loop is one chain. Aim for chains that are loose enough that the hook slides in easily on the next row. A foundation chain that’s too tight is the most common reason beginner work ends up puckered at the bottom.
The slip stitch (sl st). Insert the hook into a stitch, yarn over, and pull the yarn through both the stitch and the loop on your hook in one move. It’s almost flat and adds no height, so it’s used for joining rounds and for moving along without building height.
The single crochet (sc). Insert the hook into a stitch, yarn over, and pull up a loop (you now have two loops on the hook). Yarn over again and pull through both loops. It’s short, dense, and forms a firm fabric. Most amigurumi toys, coasters, and dishcloths use it.
The half double crochet (hdc). Yarn over first, then insert the hook into the stitch, yarn over, and pull up a loop (three loops on the hook). Yarn over and pull through all three loops. It’s a little taller and softer than a single crochet, which makes it a lovely stitch for scarves and headbands.
The double crochet (dc). Yarn over, insert the hook, yarn over, and pull up a loop (three loops). Yarn over and pull through two loops (two remain). Yarn over again and pull through the last two. It’s tall, quick to work, and makes a drapey fabric.
Practice each of these for about ten minutes, in a row of twenty or so stitches, and don’t worry about neatness. You’re teaching your hands the rhythm. The stitch heights build on each other: slip stitch is flat, single crochet is short, half double is medium, double is tall. That one idea, that each stitch is just a taller version of the one before, is what makes shapes in crochet work.
How to Read a Crochet Pattern Without Panic
Patterns look like code until you know the rules, and then they turn out to be short, precise, and predictable.
Abbreviations save space, and you’ll meet the same few over and over: ch for chain, sl st for slip stitch, sc for single crochet, hdc for half double crochet, dc for double crochet, inc for increase (two stitches in the same stitch), and dec for decrease (two stitches worked together). MR is a magic ring, a way of starting a circle with no hole in the middle.
Asterisks and parentheses show repeats. A line such as “(2 sc, inc) x6” means: do everything in the brackets, then repeat that sequence six times around. A number in brackets at the end of a line, such as (30), is the stitch count you should have when the round or row is finished. Count every time, especially early on. A stitch count is the pattern telling you how your work should look, and it’s the fastest way to find a mistake while it’s still cheap to fix.
A word on US and UK terms. The same names can mean different stitches on either side of the Atlantic. A US double crochet is a UK treble crochet, and a US single crochet is a UK double crochet. All the patterns here use US terms. If your own tutorials use UK terms, translate before you begin, or you’ll end up with a fabric that looks nothing like the picture.
Turning chains. When you work back and forth in rows, you begin each row with a few chains to bring the hook up to the right height. In the patterns below, the turning chain is specified clearly, along with whether it counts as a stitch. This is where most beginners lose or gain stitches, so read that line twice.
Project 1: The Practice Dishcloth
What it teaches: working straight rows in single crochet, keeping straight edges, and counting.
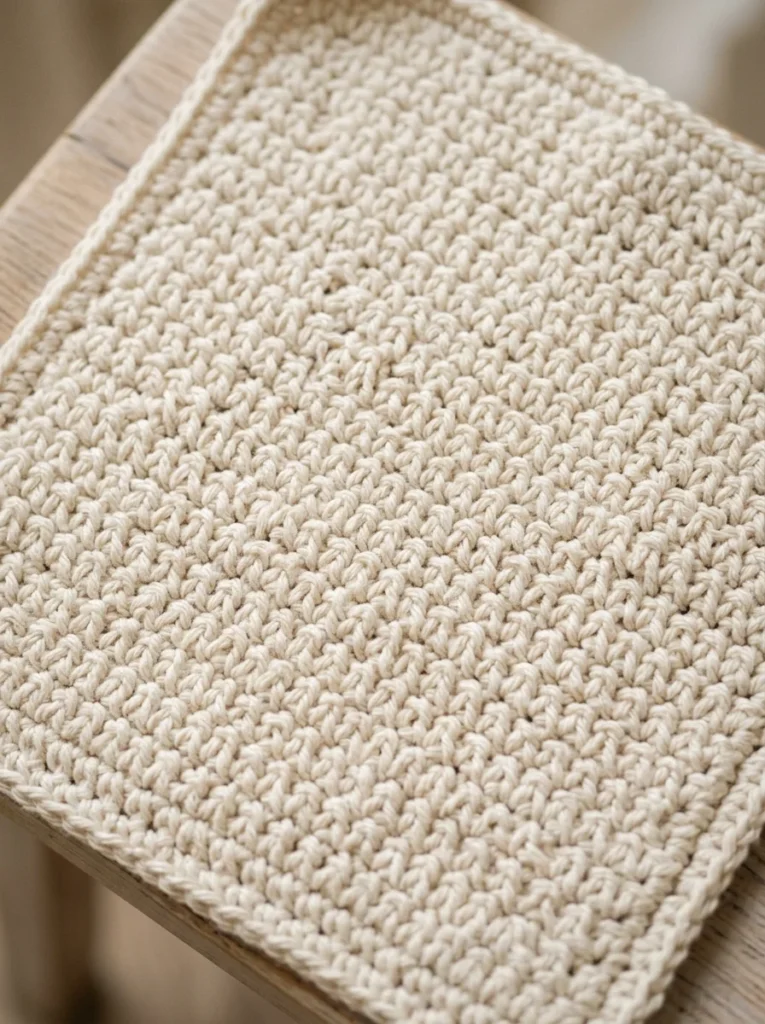
A dishcloth is a perfect first project for a simple reason: nobody minds if it’s slightly uneven. It’s also useful the moment you finish it, and cotton gets softer with washing.
You’ll need: about 50 g of worsted cotton yarn and a 4.0 mm hook.
Foundation: Ch 31.
Row 1: Sc in the 2nd chain from the hook, then sc in each chain across. (30 sc)
Row 2: Ch 1 (does not count as a stitch). Turn your work. Sc in each stitch across. (30 sc)
Rows 3 to 30: Repeat Row 2. Check that you still have 30 stitches every few rows. The finished cloth should be roughly square, about 16 cm (6 in) on each side. If it’s not square, keep adding rows until it is.
Finishing: Fasten off, cut the yarn, and weave the tails into the back with your yarn needle.
The chain at the start of each row is only there to lift the hook to the correct height. It doesn’t count as a stitch, so the first stitch of the row goes into the very first stitch of the row below, not into the chain. If you accidentally work into the chain, your cloth will slowly get wider. If you skip the last stitch, it will get narrower. Count your stitches at the end of each row until this becomes automatic.
Project 2: The Round Coaster
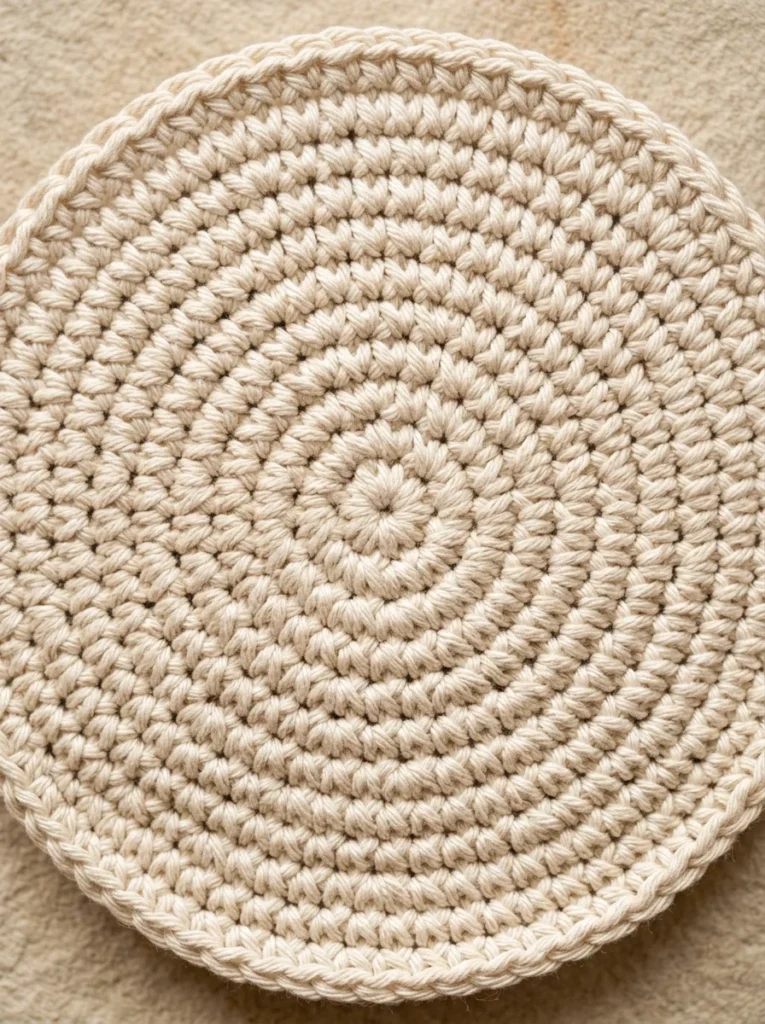
What it teaches: working in a circle, and understanding increases. This is the same technique used at the start of nearly every amigurumi toy, so it prepares you for projects like our free amigurumi patterns.
You’ll need: a small amount of worsted cotton and a 4.0 mm hook.
Start with a magic ring. If you can’t manage the magic ring yet, ch 2 and work the first round into the 2nd chain from the hook instead.
Round 1: Ch 1, then 6 sc in the ring. Pull the tail to close it. (6)
Round 2: Inc in each stitch around. (12)
Round 3: (Sc, inc) x6. (18)
Round 4: (2 sc, inc) x6. (24)
Round 5: (3 sc, inc) x6. (30)
Round 6: (4 sc, inc) x6. (36)
Round 7: (5 sc, inc) x6. (42)
Round 8: (6 sc, inc) x6. (48)
Join with a sl st to the next stitch, fasten off, and weave in the ends. The coaster should measure about 9 cm across (3.5 in). For a larger one, keep going with the same pattern, adding one more stitch before each increase.
There’s a simple rule hiding in these rounds. Each round has six more stitches than the one before, and the six increases are spaced evenly, so the circle grows evenly in every direction. If your circle starts to ruffle like a lettuce leaf, you’ve added too many stitches. If it cups like a bowl, you’ve added too few. Count each round, and press the finished piece gently with steam to flatten it.
Project 3: The Simple Headband
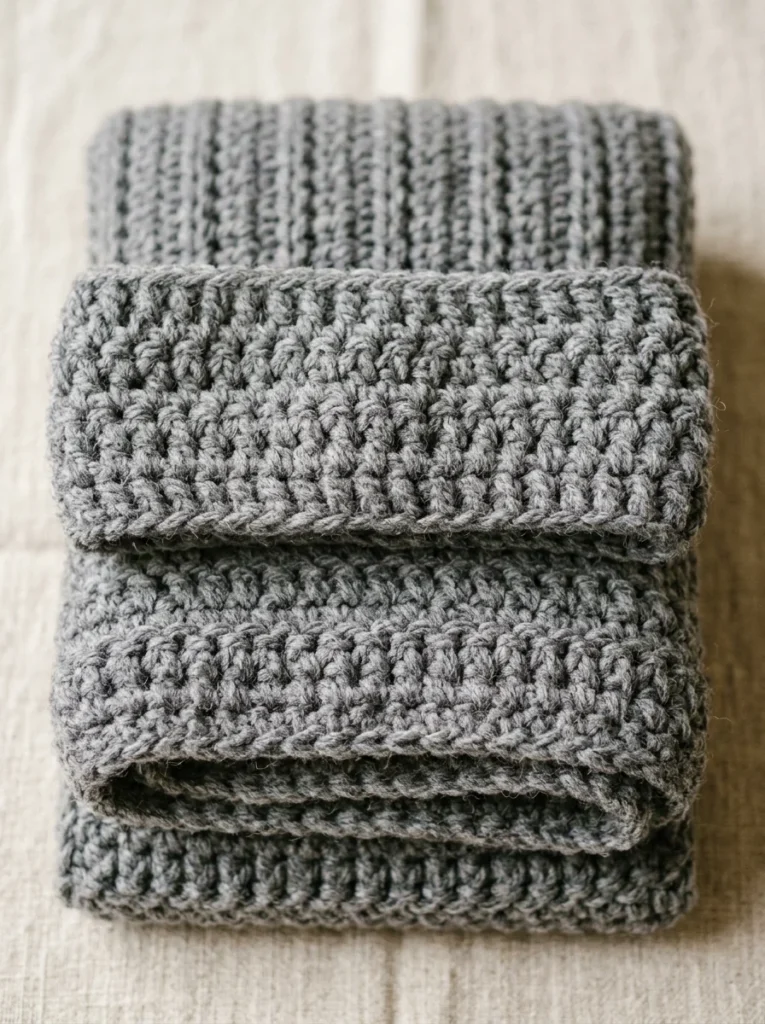
What it teaches: half double crochet, a stretchier fabric, and joining a piece into a loop. It’s small enough to finish in an evening, and you can wear it straight away.
You’ll need: about 50 g of worsted acrylic or wool blend and a 5.0 mm hook.
Foundation: Ch 12.
Row 1: Hdc in the 3rd chain from the hook, then hdc in each chain across. The two chains you skipped count as your first stitch. (10 hdc including the skipped chains)
Row 2: Ch 2 (this counts as your first stitch, so it replaces a stitch). Turn. Hdc in each stitch across, ending with an hdc in the top of the turning chain from the row below. (10)
Rows 3 onward: Repeat Row 2 until the strip, gently stretched, fits around your head with a bit of ease. That’s usually around 46 to 52 cm (18 to 20 in) for an adult, but measure your own head before deciding.
Finishing: Lay the short ends together and sew them with an invisible whipstitch, or use a sl st seam. For a twisted look, give the strip one half twist before you seam it. Weave in the ends.
The reason the headband is a good step up from the dishcloth is the turning chain. In hdc, you begin each row with a ch 2 that counts as a stitch, and you must work your last stitch into the top of that chain in the next row. It’s the most common place beginners lose count, so the first time, count your ten stitches at the end of every row. After two or three rows, your hands will find the pattern.
Project 4: The Beginner Scarf
What it teaches: consistency over a long piece. A scarf is the same row repeated hundreds of times, which is exactly why it’s so good for building even tension.
You’ll need: roughly 150 to 200 g of worsted acrylic or blend (two to three balls, depending on length) and a 5.0 mm hook.
Foundation: Ch 22.
Row 1: Hdc in the 3rd chain from the hook and in each chain across. (20 hdc, counting the two skipped chains as a stitch)
Row 2 onward: Ch 2 (counts as a stitch), turn, hdc in each stitch across, ending with an hdc in the top of the turning chain. (20)
Repeat until the scarf is as long as you like. Hdc rows in worsted yarn are roughly 1 cm tall, so measure after ten rows and calculate how many more you need. A comfortable scarf is about 150 cm (60 in) long and 14 to 16 cm (5.5 to 6.5 in) wide.
Fasten off, weave in the ends, and if you like, add tassels by cutting lengths of yarn, folding them in half, and pulling the loop through the end stitches.
A good scarf isn’t about the pattern, it’s about rhythm. You’ll notice something after about thirty rows: the fabric starts to look better, because your tension settles. Beginners often say the second half of a first scarf looks nicer than the first. That’s not luck, it’s practice, and it’s one reason a scarf is worth finishing even if the beginning is wobbly.
Mistakes Every Beginner Makes (and How to Fix Them)
Nearly every problem in beginner crochet comes down to a small handful of causes. Recognizing them quickly saves hours.
Your edges are getting wider or narrower. This is by far the most common problem. If the piece grows, you’ve probably worked into the turning chain or added an extra stitch at the end of a row. If it shrinks, you’ve skipped the last stitch. Count at the end of every row until it’s automatic, and always identify the first and last stitch of a row before you start.
Your stitches are too tight. If you can barely get the hook into the stitches, you’re pulling the yarn too hard. Loosen your grip, or use a hook one size larger. Tight stitches make hard, stiff fabric and tired hands.
Your stitches are too loose. Gaps and floppy fabric mean the opposite: try a hook one size smaller, and hold the yarn a little more firmly.
Your foundation chain is too tight. If the bottom of your piece puckers, make the chain with a larger hook, then switch to your regular hook for the first row.
You can’t tell where to put the hook. Turn the fabric so you can see the top of each stitch. It looks like a small V. Each stitch is worked under both loops of the V unless a pattern says otherwise.
The yarn keeps splitting. Pull the yarn slightly toward you as you insert the hook, or switch to a smoother yarn.
You’ve made a mistake several rows back. Don’t be afraid to pull it out. Unraveling is called “frogging,” because you “rip it, rip it.” Taking out a row takes a few seconds, and starting over each time gets faster. It’s part of the craft, not a failure.
Choosing Yarn: A Quick Guide to What Works
Different fibers behave very differently under your hook, and it’s worth knowing the main differences before you buy.
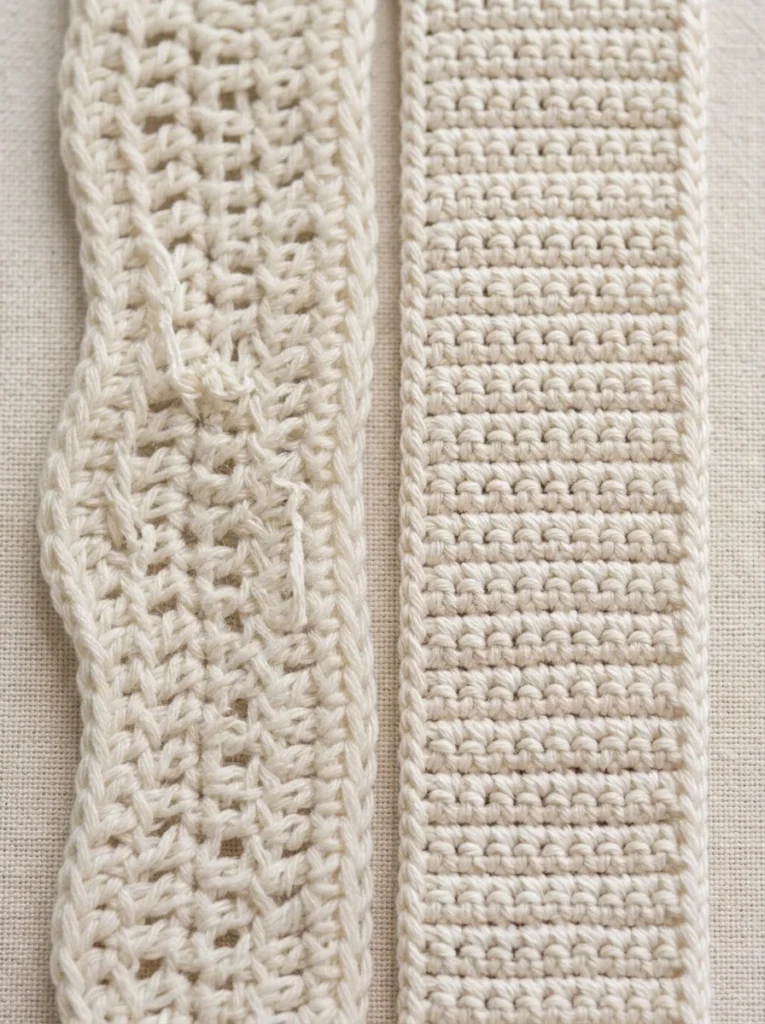
Cotton is firm, cool, and absorbent, ideal for dishcloths, coasters, and anything that needs to hold its shape. It doesn’t stretch, so it’s less forgiving on your hands, but it’s excellent for seeing your stitches.
Acrylic is soft, light, inexpensive, and comes in every color. It’s the friendliest yarn for scarves, headbands, and blankets, and it’s easy to wash. Cheaper acrylic can feel squeaky or splitty, so it’s worth choosing a slightly better one for larger projects.
Wool and wool blends are warm and springy, with lovely stitch definition. They can feel scratchy to some people, and pure wool may need careful washing, so check the label.
Yarn labels give you a lot of information. They show the weight, the recommended hook, the length and weight of the ball, and the care instructions. Save a scrap of the label or take a photo of it, because you’ll want to know what you used later.
One final tip: buy enough yarn from the same dye lot at the start. If you need a second ball later, the color may not match exactly, and on a scarf a subtle change can show clearly.
What to Make After Your First Projects
Once you’ve finished the four projects above, you have all the skills for a huge range of patterns. The natural next steps depend on what you enjoy.
If you love small, cute projects, try amigurumi. The round coaster you made is the same technique as the start of every toy, and our free amigurumi bunny pattern is a friendly first animal. If you like quick projects you can finish in a sitting, try crochet flowers: our guide to crochet flowers for beginners builds three flowers that teach new skills, and the crochet flower pattern free guide gives you a two-layer flower. And if you’d like more of the same, keep making things you’ll actually use: more dishcloths in different colors, a longer scarf, a pair of ear warmers, a set of coasters in a stack.
The best beginner projects are the ones you finish. Each finished piece makes the next one quicker, and you’ll begin to notice your own progress: straighter edges, more even tension, fewer times you need to unravel.
Frequently Asked Questions
What is the easiest thing to crochet as a beginner?
A flat square such as a dishcloth is the easiest. It only uses chain and single crochet, and it teaches you to keep your edges straight.
How long does it take to learn to crochet?
Most people can make the basic stitches after a couple of hours of practice, and finish a simple project such as a dishcloth within a few days. Neater results come with repetition over weeks, not hours.
What yarn and hook should a beginner use?
A smooth, light-colored worsted weight yarn (cotton for flat projects, soft acrylic for wearables) and a hook between 4.0 and 5.0 mm. If you’re buying one hook, 4.5 mm is a sensible middle.
Why does my crochet keep getting wider or narrower?
You’re probably adding or skipping a stitch at the edge of the row. Count your stitches at the end of each row, and make sure you know whether the turning chain counts as a stitch in your pattern.
Should I learn crochet from patterns or videos?
Both help. Written patterns teach you to read the language, and videos help you see how a stitch feels. Use a video for a new stitch, then practice it in a pattern.
Can I teach myself to crochet?
Yes. Crochet uses one hook and a handful of stitches, and it’s very forgiving. A few hours of practice on small projects is enough to get you started.
What should I crochet after these projects?
Try small amigurumi, simple flowers, or a longer scarf. Each of these builds directly on what you’ve already learned.
Final Thoughts on Free Crochet Patterns for Beginners
You don’t need talent to crochet. You need a smooth yarn, a comfortable hook, a few basic stitches, and the patience to finish small things. The projects in this guide are simple on purpose, because each one is designed to teach a skill you’ll use for years: straight rows, a flat circle, a stretchy fabric, and steady tension.
Start with the dishcloth. Count your stitches. When you finish it, make another one and notice how much smoother it is. That’s crochet in a nutshell, and it’s how every experienced crocheter began.