Crochet Flowers for Beginners: Three Easy Patterns That Build Your Skills
Most advice about crochet flowers for beginners says the same thing: pick a simple pattern and go. That’s true, but it skips the part that actually helps. A flower is not hard because the stitches are hard. It’s hard because tiny projects punish small mistakes. One extra stitch, one loose loop, one center with a gap, and the whole thing looks off, even though it took you ten minutes.
So this guide does something a little different. Instead of handing you one pattern and wishing you luck, it gives you three original flowers that build on each other. The first one teaches you to control a small circle. The second teaches you to make shaped petals from a chain. The third turns a single row of stitches into a ruffled rose. By the end, you’ll know how flowers are built, which is far more useful than knowing one pattern.
Everything is written in US crochet terms, and every round comes with a stitch count so you can check your own work. Nothing here needs special skills beyond a few basic stitches.
Quick answers, if you’re in a hurry: Use smooth cotton yarn in a light color, a 3.5 mm hook, and start with the loop daisy below. It uses only chain, single crochet, and slip stitch, and it takes about five minutes.
Before You Start: Why Small Flowers Feel Harder Than Big Projects
When you crochet a blanket, one wobbly stitch disappears among hundreds. In a flower with forty stitches, every stitch is visible. That is why beginners often say flowers feel harder than scarves, even though the scarf takes ten times as long.
There are really only three things that go wrong. The first is tension. If your stitches are loose one round and tight the next, the petals won’t match. The second is counting. Petals and loops depend on each stitch landing in the right place, so a miscount snowballs quickly. The third is the center. A magic ring that isn’t pulled tight leaves a hole that looks like a mistake, even if everything else is perfect.
The good news is that all three improve with repetition, and flowers are quick enough to repeat. Making the same flower five times in one evening will teach you more than making one flower slowly and carefully. Think of each flower as practice, not as a finished piece, and you’ll relax, which alone improves your tension.
What to Gather
You don’t need much, and it’s worth choosing carefully because materials matter more at this scale.
Yarn. Choose a smooth cotton in worsted or DK weight if you can. Cotton doesn’t stretch much, so it holds a crisp shape, and it’s forgiving about splitting because the strands are firm. Acrylic works well too and comes in every color, but the petals will be softer and tend to flop. Avoid fuzzy or very dark yarn for your first attempts. You need to see each stitch clearly, and fluff hides them. If you’re curious what “worsted” and “DK” actually mean, the knitting tips explains the standard yarn weight categories.
Hook. A 3.5 mm hook is a good place to begin with worsted cotton. For a tighter, neater flower, try 3.0 mm. Flowers are so small that trying two hooks costs you almost nothing, so do it and keep the size that gives you the neatest stitches.
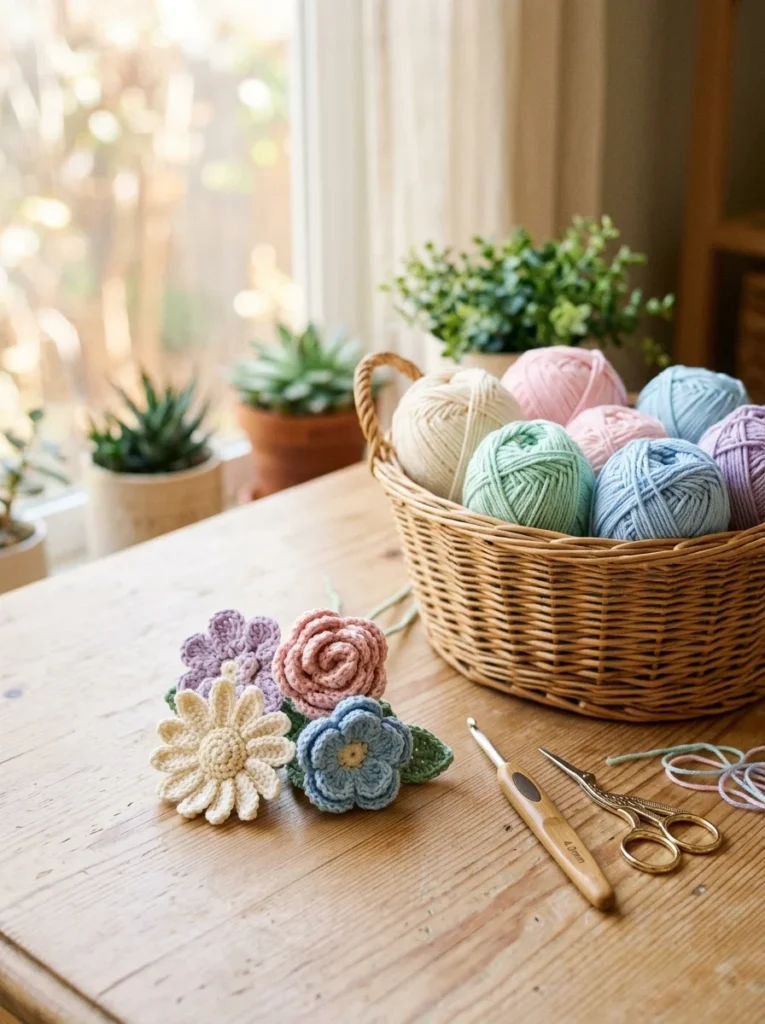
Everything else. A yarn needle for weaving in ends, scissors, and a stitch marker. If you like, a bead or button for the center, and a pin back or hair clip to turn your flower into something you can wear.
The Stitches, in Plain English
Before the patterns, here’s a short explanation of the stitches you’ll meet. Each is just a slightly taller version of the one before, and that difference in height is how crochet makes shapes.
A chain (ch) is the loop you make to start almost everything. A slip stitch (sl st) is nearly flat, used to join and to move along without adding height. A single crochet (sc) is short and dense, the workhorse of amigurumi and small motifs. A half double crochet (hdc) is a bit taller, and a double crochet (dc) taller again. If you’re brand new, spend a little time with our guide to the easiest crochet stitch first, or start with these free crochet patterns for beginners.
One thing that confuses many beginners: US and UK terms use the same names for different stitches. A US double crochet is a UK treble crochet. All the patterns here use US terms, so if you learned in the UK, translate accordingly.
How to read one line of a pattern. Here’s a line from the first flower: R2: *ch 6, sl st in next st* x8. “R2” means round 2. The asterisks mark a set of instructions to repeat, and “x8” says how many times. So you chain six, slip stitch into the next stitch, and do that eight times in all. Once you can read a line like this, you can read most beginner patterns.
Crochet Flowers for Beginners: Three Patterns That Build on Each Other
Work through these in order. Each one takes a little longer than the last, and each adds exactly one new idea.
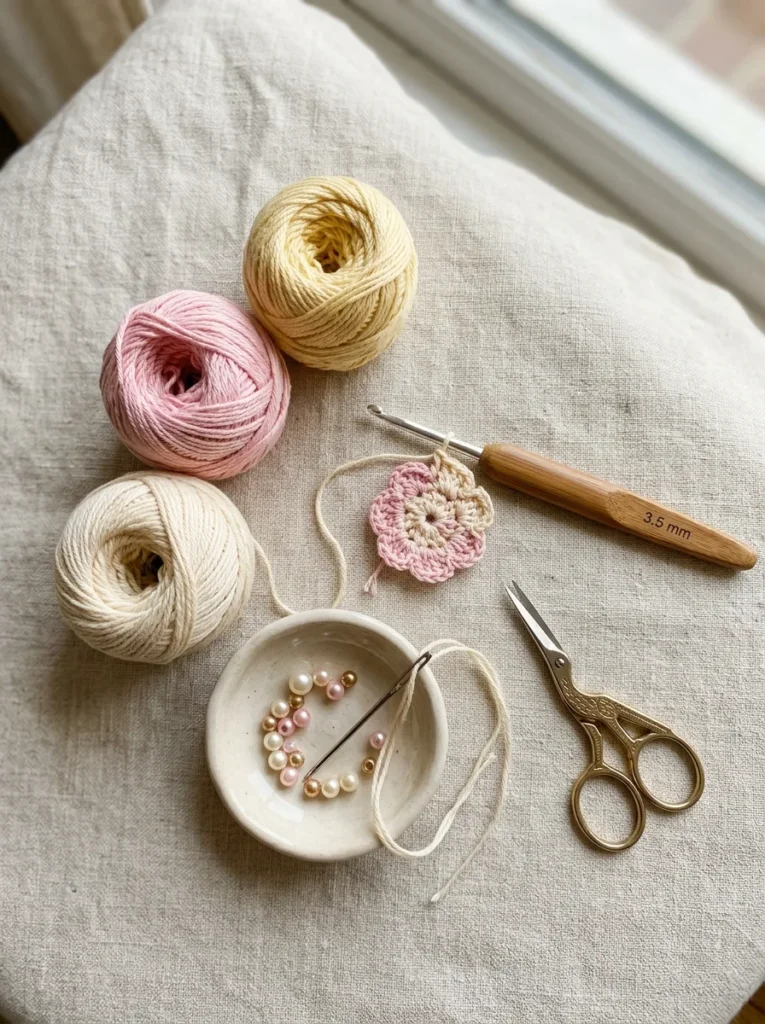
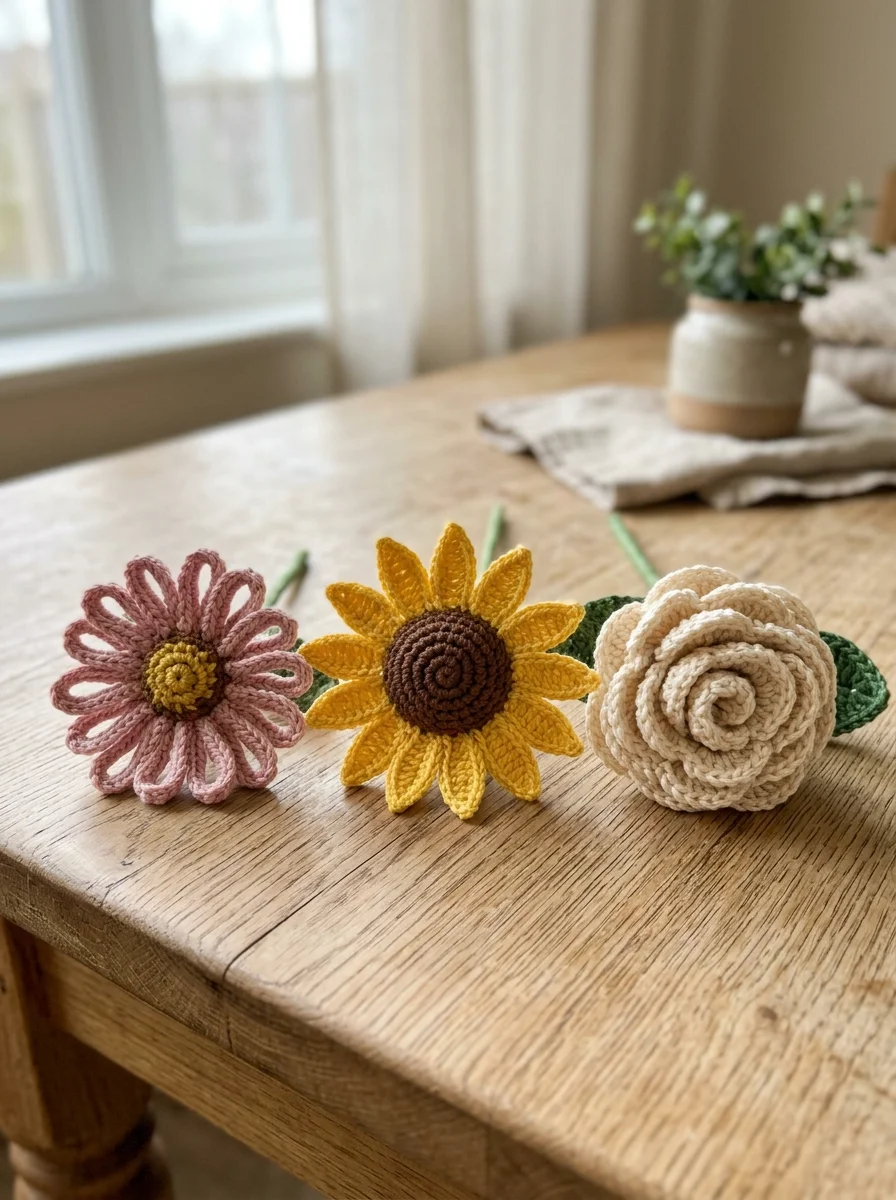
Flower 1: The Loop Daisy (about 5 minutes)
What it teaches: starting a small circle, and working chain loops. It uses only chain, single crochet, and slip stitch, so there’s very little that can go wrong.
Round 1 (center): Make a magic ring. Ch 1 (this doesn’t count as a stitch). Work 8 sc into the ring. Join with a sl st to the first sc, and pull the tail tight to close the ring. (8 sc)
If the magic ring gives you trouble, use this alternative instead: ch 2, work 8 sc in the second chain from the hook, and join with a sl st to the first sc. The center will be slightly looser but perfectly usable.
Round 2 (loop petals): Do not turn. Ch 6, sl st in the next stitch. Repeat 8 times in all, with the final slip stitch going into the stitch where you joined round 1. (8 loops)
Fasten off, leaving a tail about 15 cm (6 in) long, and weave it in at the back.
That’s the whole flower. Each chain loop stretches between two neighboring stitches and stands up to form a petal. If your loops look uneven, that’s your tension telling you something. Some loops are bigger because you pulled the chain tighter or looser. Make another and try to chain with the same relaxed pull every time.
Flower 2: The Pointed-Petal Daisy (about 15 minutes)
What it teaches: shaping a petal by changing stitch height. Instead of a plain loop, each petal has a tapering shape because the stitches get taller toward the base.
Round 1 (center): Make a magic ring. Ch 1. Work 12 sc into the ring. Join with a sl st to the first sc. (12 sc)
Round 2 (petals): Do not turn. Ch 5. Starting in the second chain from the hook, work sl st in that chain, sc in the next chain, hdc in the next chain, and dc in the last chain. Then sl st in the next stitch of the ring. Repeat 12 times in all, with the last slip stitch going into the stitch where you joined round 1. (12 petals)
Fasten off, leaving a tail, and weave in the ends.
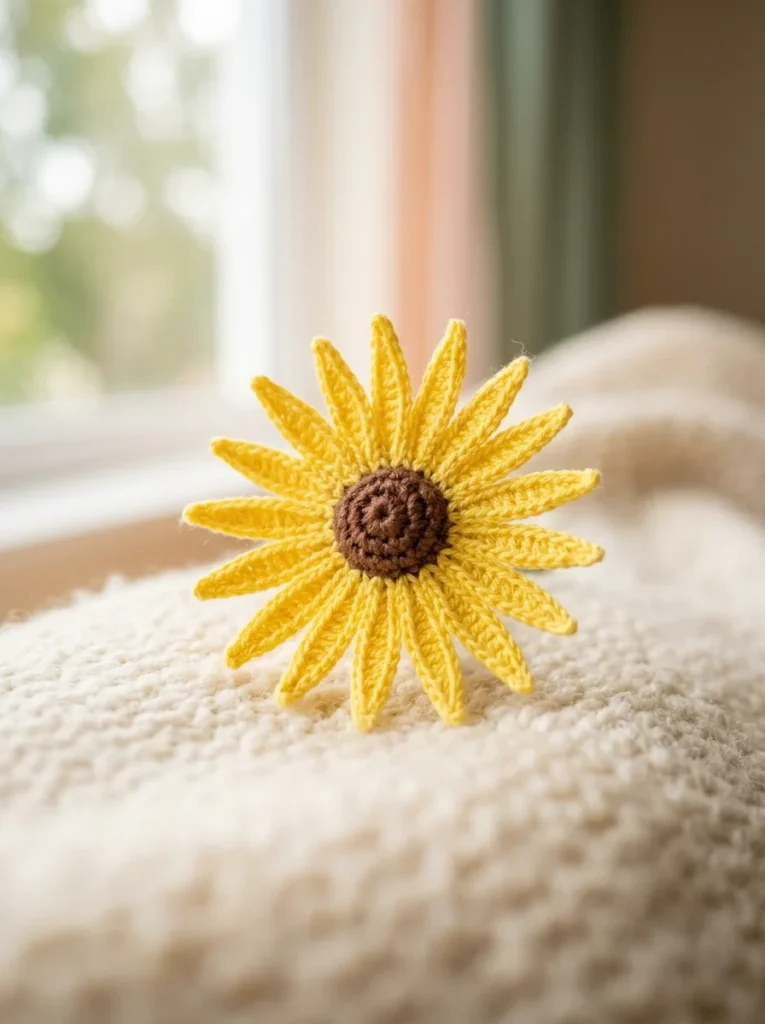
Here’s why it works. You’re crocheting back down a chain, so the shortest stitch (the slip stitch) sits at the tip of the petal and the tallest (the double crochet) sits at the base, right beside the center. The result is a slim, pointed petal that’s wider at the bottom. It’s the same principle that shapes every crochet flower: put short stitches where you want a narrow tip, and tall stitches where you want the petal to swell.
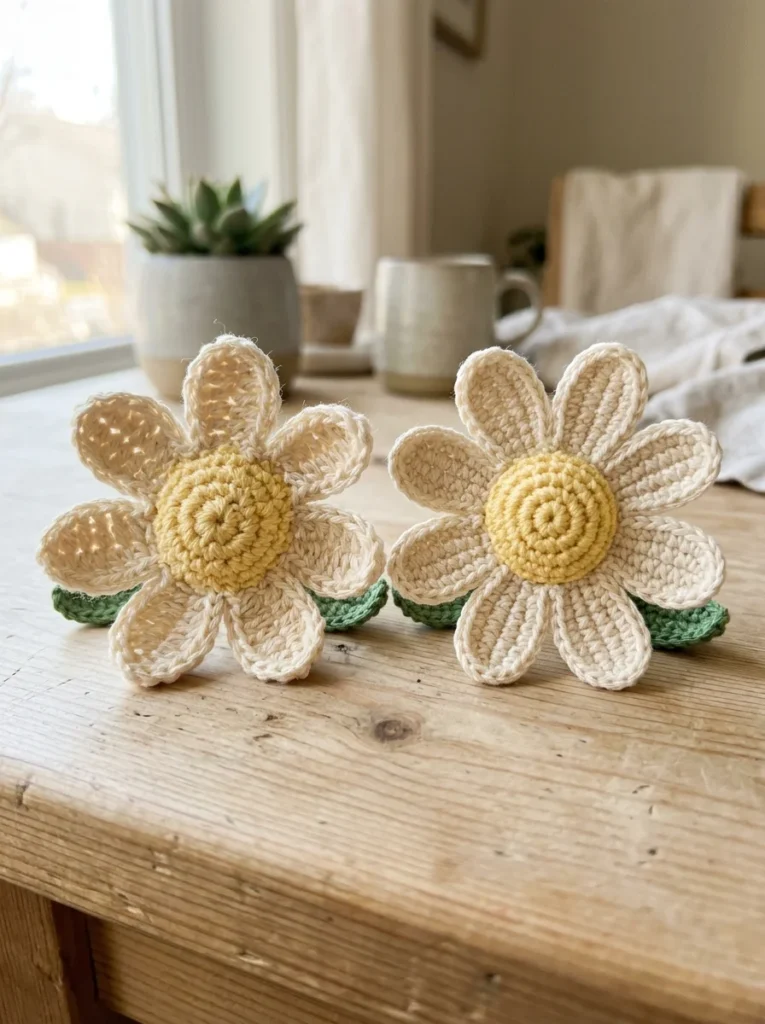
Because there are twelve petals packed around a small center, the flower will look like a daisy or a small sunflower. Try it in yellow with a brown center to see what we mean.
Flower 3: The Ruffled Rose (about 20 minutes)
What it teaches: how increases make fabric ruffle, and how to roll a flat strip into a three-dimensional shape. It looks impressive, and it’s actually one row of stitches.
Use a 4.0 mm hook for this one, since ruffles need a little extra room.
Foundation: Ch 25.
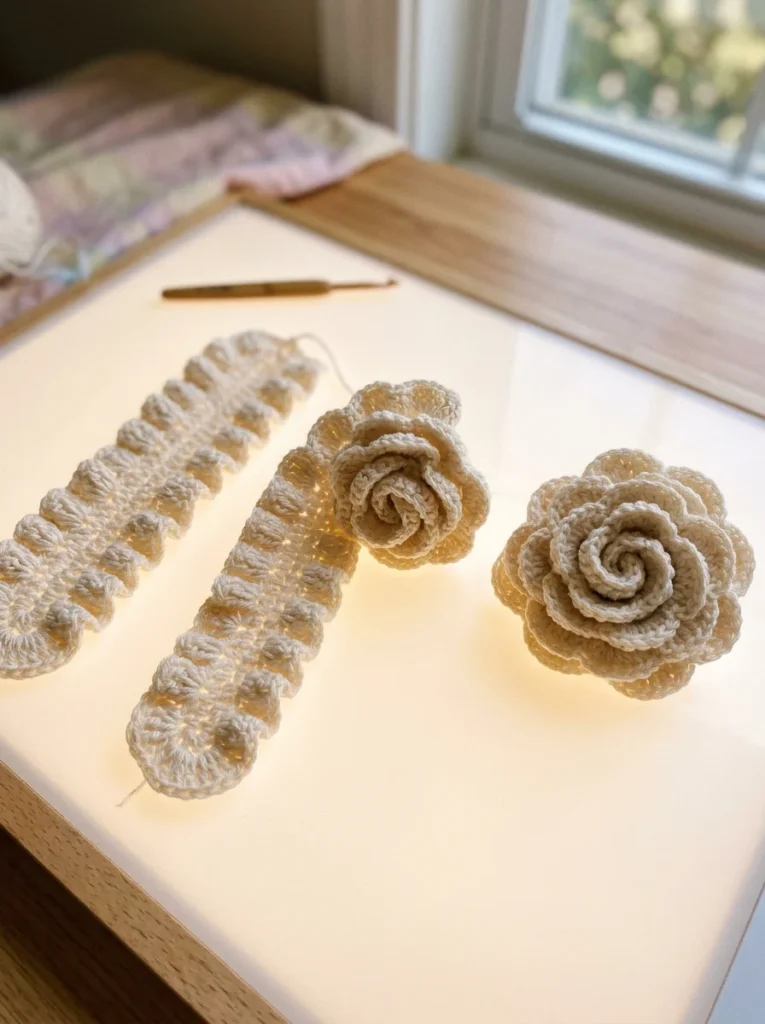
Row 1: Work 3 dc in the 4th chain from the hook (the three skipped chains count as your first stitch). Then work 3 dc in each remaining chain across. You’ll end up with 22 little clusters of three double crochets. Fasten off, leaving a long tail of about 30 cm (12 in).
To assemble: Lay the strip in front of you with the ruffled edge (the tops of the double crochets) facing up and the straight chain edge at the bottom. Starting from the end where you began, roll the strip up tightly around itself, keeping the bottom edge level. As you roll, the ruffled edge folds into petal-like layers. Thread your yarn needle onto the tail and sew through the base of the roll several times, catching every layer, until it holds its shape. Weave the end in at the back.
The reason this works is simple. The chain edge is short, but the top edge holds three times as many stitches, so it has to wave and ruffle to fit. Rolling it up turns that ruffle into petals. The tighter you roll at the start, the more the center looks like a rosebud; a looser roll gives a more open flower.
How to Make Your Flowers Look Finished
A flower doesn’t look complete straight off the hook. A few minutes of finishing is what separates something obviously handmade in a good way from something that looks rushed.
Start by weaving in your ends properly. Thread the tail through the back of the flower, changing direction once or twice, and trim it close. Then give your flower a little shape. Gently press the petals with your fingers, or hold a steamer or kettle near the flower without letting it touch. Never press an iron directly on the yarn, because some acrylics melt. Check your yarn label first, and for cotton a light steam works very well.
If you want a center, sew on a small bead or work a French knot in a contrasting yarn. A yellow center on a white flower or a dark center on a yellow one adds contrast and makes the whole thing look deliberate.
Three Mistakes Almost Every Beginner Makes
Skipping the count. In a flower this small, a single missed stitch is obvious. Count your stitches at the end of every round, and place a marker at the start so you know where you are.
Changing tension mid-flower. Beginners often crochet tightly at first and then relax. If one petal is noticeably bigger than the next, that’s usually why. The fix is not more skill but a steady rhythm: take a breath, hold the yarn the same way, and keep the pull consistent.
Leaving a hole in the center. Pull your magic ring as tight as you can before you join, then pull the tail once more after the first few stitches. If a gap remains, close it from the back with a couple of stitches.
Where Your Crochet Flowers Can Go Next
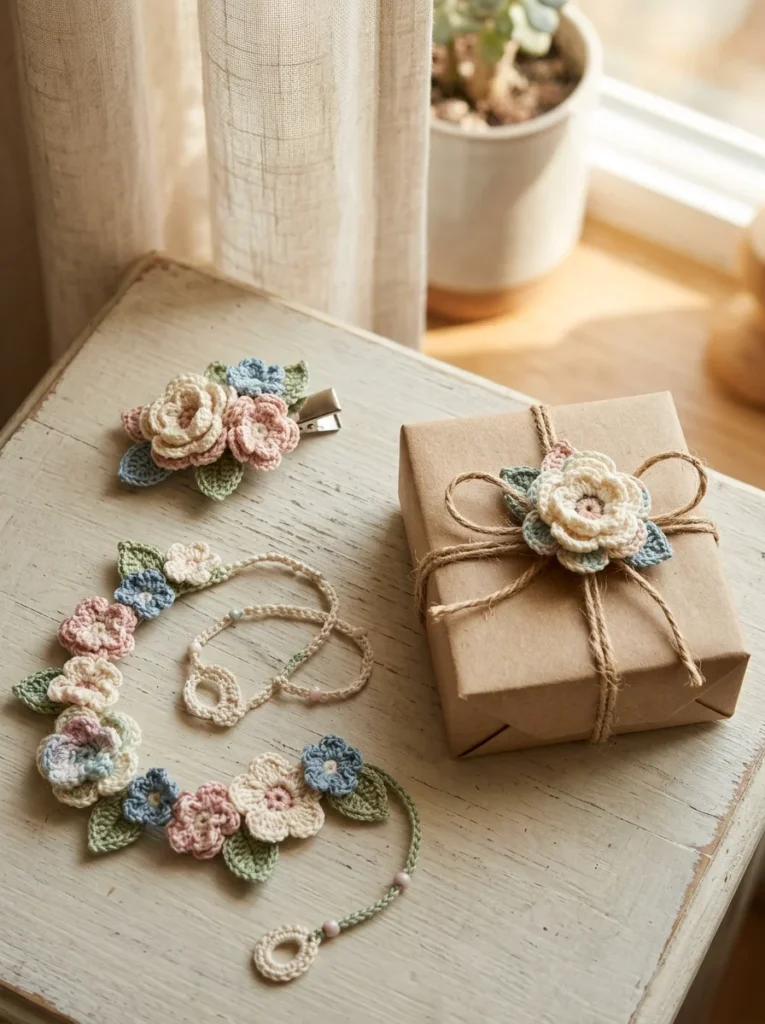
Once you can make a few flowers comfortably, they become useful. Sew one onto a hair clip or a brooch pin to wear it. Tie one onto a wrapped gift as a tiny extra present. String a dozen along a length of yarn for a garland, or sew a few onto a cushion cover or the front of a crocheted bag.
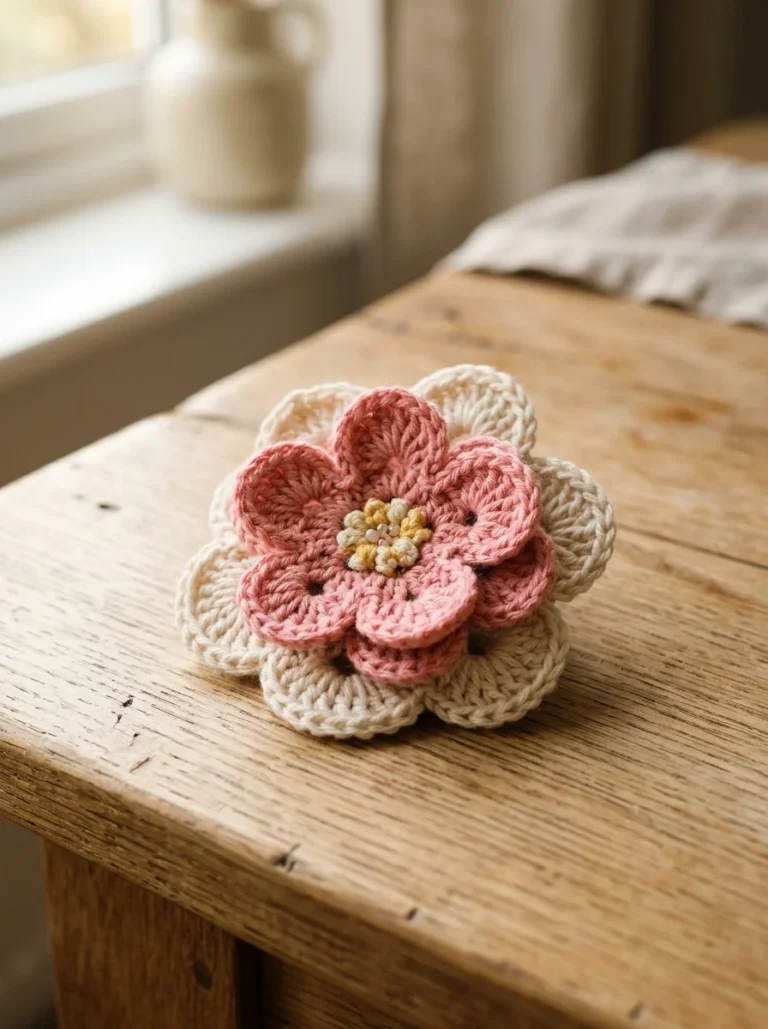
They also pair well with other small crochet projects. A little flower sewn to the ear of a toy from our free amigurumi bunny pattern is a lovely detail, and you’ll find more ideas in our guide to free amigurumi patterns. When you’re ready for a slightly fuller design, try our five-petal and two-layer flower in the crochet flower pattern free guide.
One safety note: if a flower is going onto something for a baby or small child, sew it on very securely, or leave off beads and buttons, since small parts are a choking hazard. For official guidance, see the U.S. Consumer Product Safety Commission or the toy safety rules in your own country.
Troubleshooting Your Crochet Flowers
If your flower didn’t come out the way you expected, the cause is usually one of a few things.
If the flower curls or cups instead of lying flat, it usually means the stitches are too tight or you have too many in a round. Try a hook half a size larger and check your counts. If your loops or petals are uneven, look at your tension first: are you pulling some chains tighter than others? If the center has a hole, pull the magic ring tighter, or close the gap from the back with your needle. And if the rose won’t hold its shape, sew through the base more times, catching every layer, and roll a little tighter at the beginning.
Most of all, don’t throw out a flower that looks a little off. Sew it onto a card or a bag, and make another. Every flower you make is quicker and neater than the last, and you’ll see the improvement within a handful of tries.
Questions Beginners Ask About Crochet Flowers
What is the easiest crochet flower for a complete beginner? The loop daisy above. It uses only chain, single crochet, and slip stitch, and it’s finished in about five minutes.
What yarn is best for crochet flowers for beginners? A smooth cotton yarn in a light color, in worsted or DK weight. It holds its shape and lets you see every stitch.
What hook size should I use? Start with 3.5 mm for worsted weight yarn, and go down to 3.0 mm for tighter, neater flowers, or up to 4.0 mm for ruffles.
How long does it take to crochet a flower? Between five and twenty minutes, depending on the pattern and how comfortable you are with the stitches.
Why does my crochet flower curl? Usually the stitches are too tight or the round has too many stitches. A larger hook and a light steam usually help.
How do I turn a crochet flower into a hair clip? Sew the flower onto a small felt circle, then attach the felt to the clip. It’s sturdier than sewing the flower directly onto the clip.
Final Thoughts on Crochet Flowers for Beginners
The best thing about crochet flowers for beginners is how quickly they reward you. In one evening you can go from a first shaky loop daisy to a rose that looks like it took hours, and each one teaches you something you’ll use in bigger projects: how stitch height creates shape, how increases make ruffles, how a tight center holds everything together.
So start with the loop daisy, make a few, and move on to the next flower when the first one feels easy. By the time you reach the rose, you won’t be following a pattern. You’ll understand why it works.