Crochet Flower Pattern Free: Easy Step-by-Step Guide
Last updated: September 2026 | Skill level: beginner-friendly | Time: about 15 minutes per flower
A crochet flower is one of the quickest projects you can finish in a single sitting, and it’s one of the most useful things to know how to make. This crochet flower pattern free guide gives you a complete, original design: a five-petal flower that works up in about 15 minutes, plus a two-layer version when you want something fuller. You’ll find every round written out, an explanation of why each step works, and fixes for the problems that most often trip people up.
Flowers are a great project because they teach you the most important crochet skill: how stitches of different heights behave when you put them in the same place. They also have a practical side. A handful of flowers becomes a hair clip, a brooch, a gift topper, a garland, or a decoration on a blanket or bag. If you can make a single crochet, a half double crochet, and a double crochet, you can make this flower.
If you’re new to crochet, spend a little time with the easiest crochet stitch and our free crochet patterns for beginners first. If you’re already comfortable with the basics, you can go straight to the pattern below.
content titles
Pattern at a Glance
| Finished size | About 5 to 6 cm (2 to 2.5 in) across in worsted weight yarn |
| Skill level | Beginner-friendly |
| Time | About 15 minutes for a simple flower, 25 minutes for a layered one |
| Stitches used | Magic ring, sc, hdc, dc, sl st |
| Terms | US crochet terms |
What You Need to Crochet a Flower
Because flowers are so small, the materials matter more than you might expect. A poor choice of yarn or hook shows up right away in the shape of the petals.
Yarn
Use a smooth, mercerized or plain cotton yarn in worsted or DK weight if you can. Cotton has very little stretch, which helps the petals hold a crisp, defined shape. Acrylic works too and is easy to find in every color, but the petals will be softer and can flop over. Wool blends give a cozy, slightly fuzzy flower, but the fuzz can hide your stitches, which makes them harder to count while you learn.
For a first flower, choose one color in a light or medium shade so you can see each stitch clearly. Once you’re happy with the shape, you can add a second color for the center or a second layer. If you’d like to check what “worsted” and “DK” mean, the woolery publishes the standard yarn weight categories.
Hook
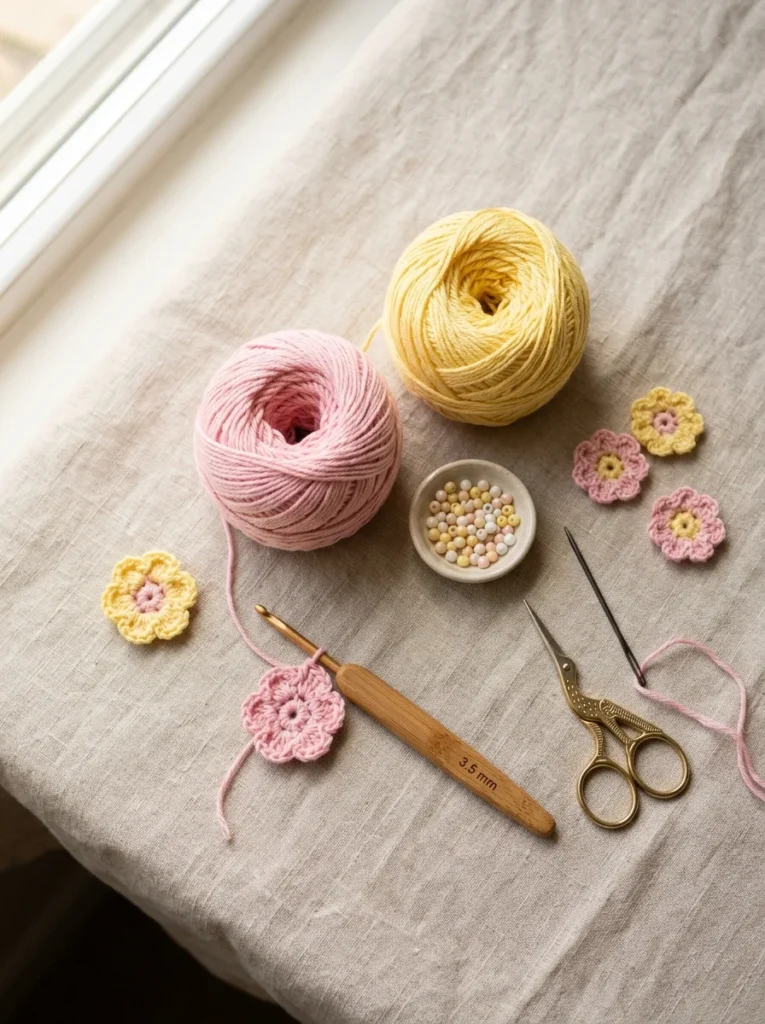
A 3.5 mm hook is a good starting point for worsted weight cotton. If you want firmer, tighter petals, go down to 3.0 mm. If the petals feel stiff and won’t sit nicely, go up to 4.0 mm. Flowers are quick, so it costs you almost nothing to try two sizes and compare.
Other Supplies
You’ll need a yarn needle for weaving in ends and sewing the flower onto things, and scissors. A small bead, button, or a scrap of yellow yarn makes a nice center. A pin back, hair clip, or brooch pin is useful if you want to wear your flower.
Abbreviations Used in This Pattern
| Abbreviation | Meaning |
|---|---|
| MR | magic ring |
| ch | chain |
| sl st | slip stitch |
| sc | single crochet |
| hdc | half double crochet |
| dc | double crochet |
| FLO / BLO | front loop only / back loop only |
| ( ) | work all stitches in the same stitch |
A quick refresher on why these stitches matter for flowers. A slip stitch is almost flat, a single crochet is short, a half double is a little taller, and a double crochet is taller still. When you work all of them into the same stitch, going from short to tall and back to short, you get a rounded, curved petal shape without any extra sewing. That is the whole trick behind this pattern.
Crochet Flower Pattern Free: Step-by-Step Instructions
Simple Five-Petal Flower
This is the basic flower, and the pattern for all the variations below.
Round 1 (center): Make a magic ring. Ch 1 (this doesn’t count as a stitch). Work 10 sc into the ring. Join with a sl st to the first sc, then pull the tail to close the ring tightly. (10 sc)
If you don’t like the magic ring, you can use an alternative: ch 2, work 10 sc into the second chain from the hook, and join with a sl st to the first sc. The center will be slightly less tight, but the flower will still look fine.
Round 2 (petals): Do not turn. Work in the same stitch as your join, and work under both loops of each stitch.
Sl st in the first stitch. In the next stitch, work (sc, hdc, 3 dc, hdc, sc).
Repeat the italic instructions 5 times in total, working around the ring. You’ll use all 10 stitches of round 1: five stitches for slip stitches, and five for petals. Join with a sl st to the first slip stitch of the round. Fasten off, leaving a tail of about 15 cm (6 in) for sewing.
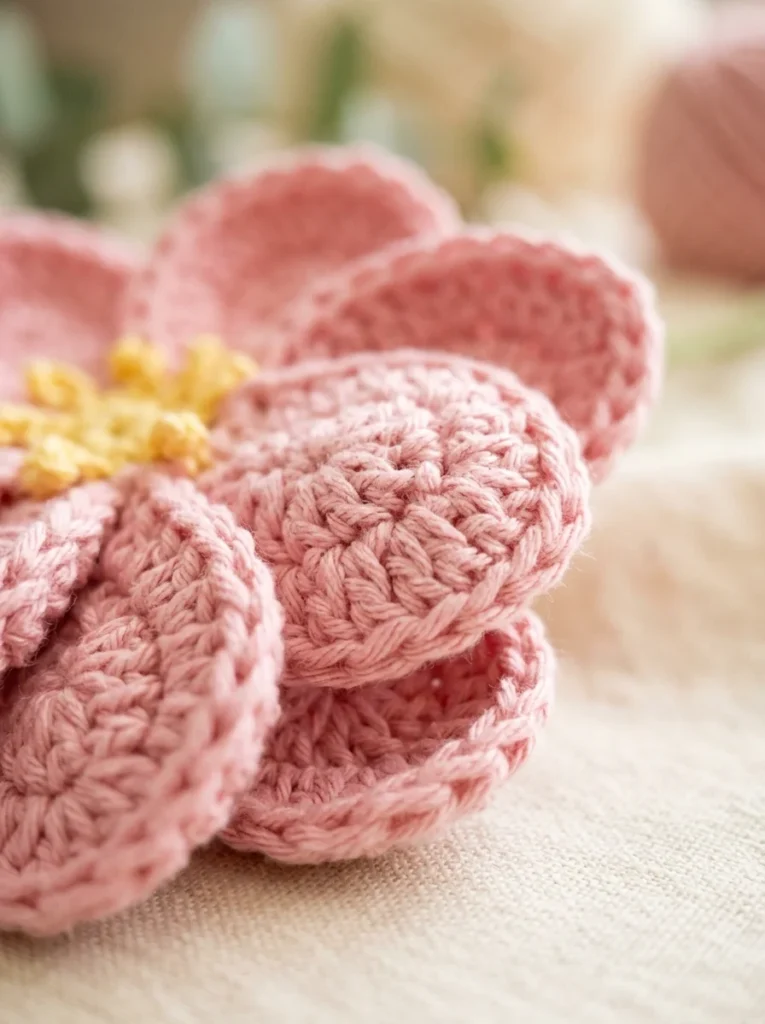
That’s it. Each petal is seven stitches worked into one base stitch. Because you’re putting more stitches into the space than the base can hold flat, the petals cup and curve outward. That’s exactly what makes it look like a flower.
Two-Layer Flower
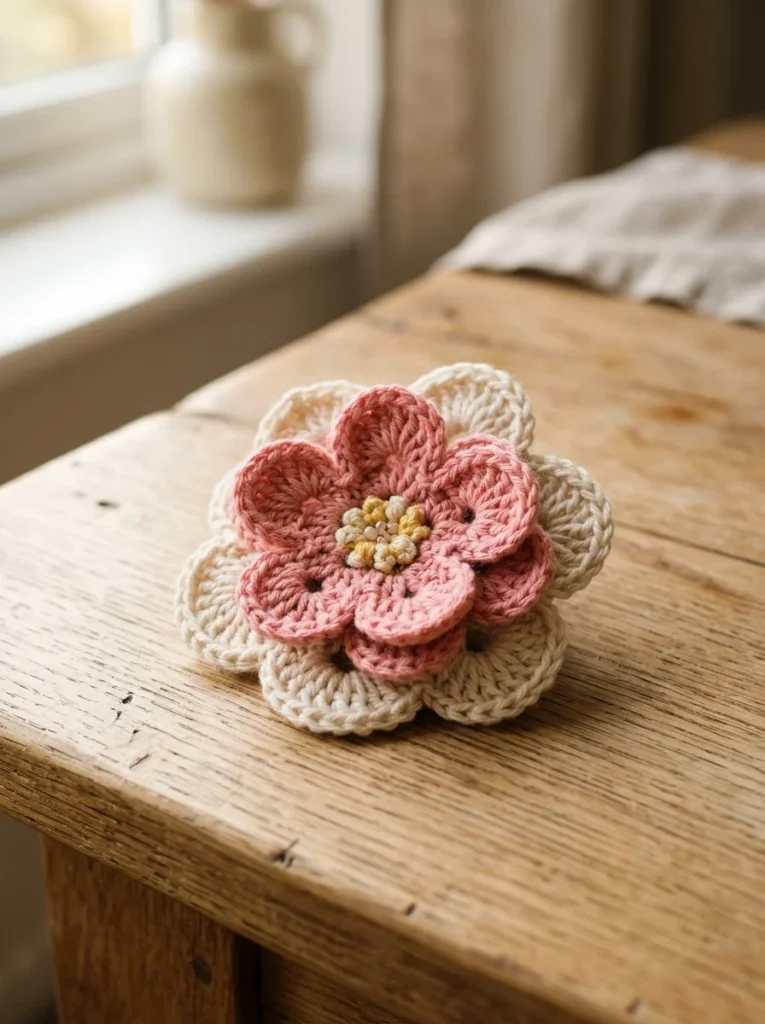
A second layer of petals sits behind the first and makes the flower look fuller and more realistic. This version uses a neat trick: the loops you skip in round 2 become the base of the second layer.
Round 1: Same as above. (10 sc)
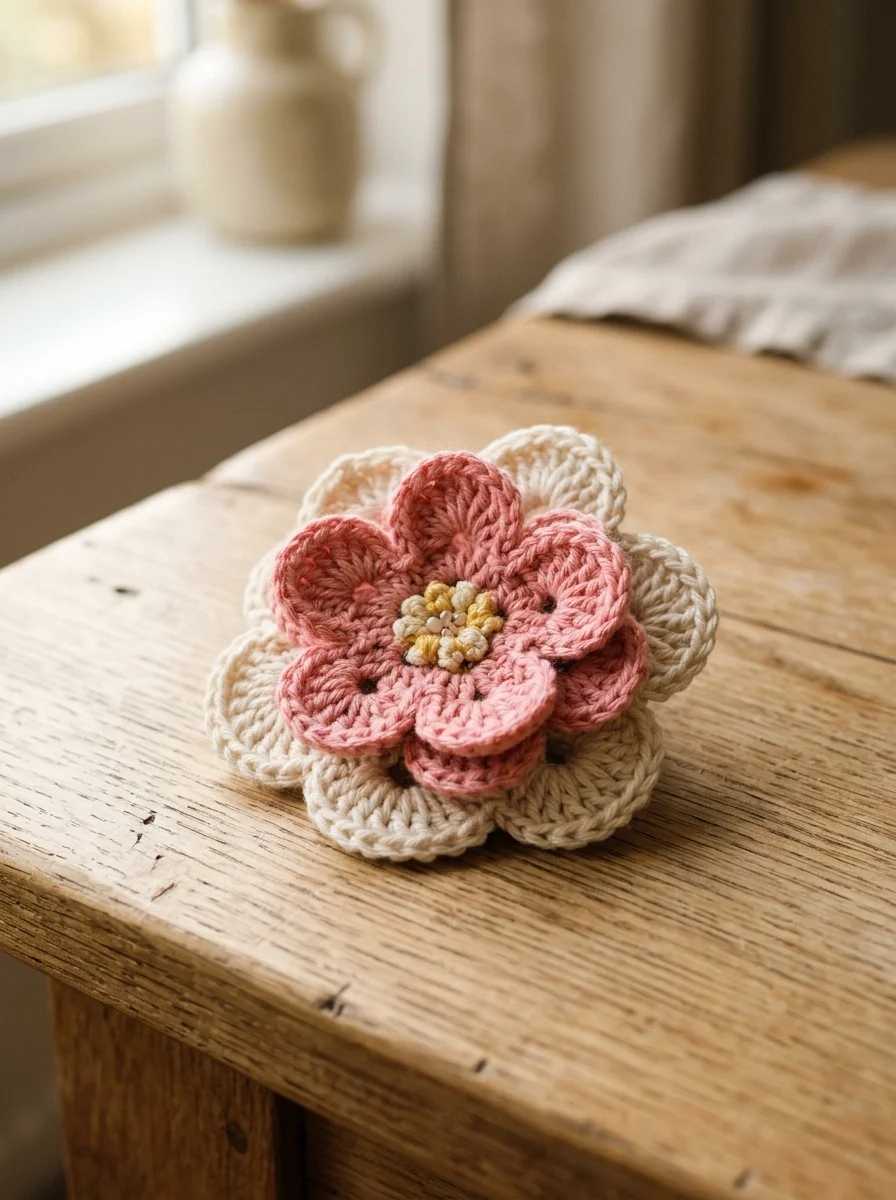
Round 2 (front petals): Work in the front loops only. Sl st in the next FLO. In the next FLO, work (sc, hdc, 3 dc, hdc, sc). Repeat 5 times. Join with a sl st and fasten off.
Round 3 (back petals): Turn the flower over so the back is facing you. You’ll see a ring of unworked loops from round 1 sitting behind the front petals. Join a new color (or the same one) to any back loop with a sl st.
Work in the back loops only. In the next BLO, work (sc, hdc, 3 dc, hdc, sc). Sl st in the next BLO. Repeat 5 times. Join with a sl st and fasten off.
Because round 3 starts with a petal where round 2 started with a slip stitch, the back petals land in the gaps between the front petals. That’s what gives the layered look. Use a slightly lighter or darker shade for the back layer to make the effect even stronger.
Making a Bigger or Smaller Flower
The pattern works on a simple rule: every petal takes one base stitch, and every petal is separated by one slip stitch. So the number of petals is half the number of stitches in round 1.
- Four petals: 8 sc in round 1, then repeat the petal round 4 times.
- Six petals: 12 sc in round 1, then repeat the petal round 6 times. This gives a fuller, rounder flower.
You can also change the size by changing the yarn. A thicker yarn with a larger hook gives a bigger flower, and a thinner yarn with a smaller hook gives a tiny one that works well as a decoration on a card.
Finishing Your Flower
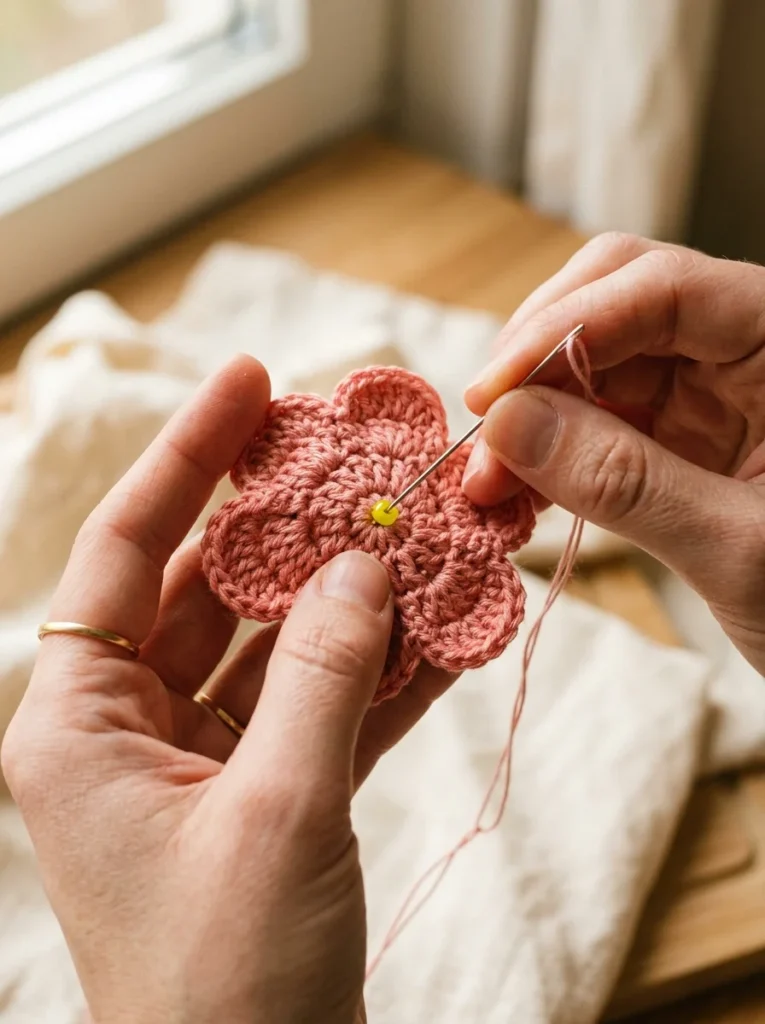
Weave in the starting tail at the back, and use your needle to close any small gap at the center. Add a center with a French knot in a contrasting color, a small bead, or a button. Sew it on with a few tight stitches, and weave in the remaining tail.
Then, before you use the flower, give it a little shape. Press it gently between your fingers to flatten the petals, or lay it face down on a towel and steam it lightly without pressing the iron directly on the yarn. Always check your yarn label first, because some acrylics can melt under direct heat. For cotton flowers, a light steam works very well.
Tips for Better Crochet Flowers
The difference between a flower that looks handmade in a good way and one that looks a little off usually comes down to just a few things.
Keep your tension consistent. The petals are made of stitches of different heights, so uneven tension shows up quickly. If some petals look larger than others, try to hold your yarn a little more evenly and count your stitches as you go.
Don’t skip the count. Each petal must have seven stitches. If a petal looks thin or pointy, you may have missed one. If it looks bulky, you may have added an extra stitch.
Treat the center as part of the design. A tight magic ring and a good center make the flower look finished. An open center with a visible hole is the most common reason for an unpolished flower.
Choose the right yarn for the job. Cotton for structure, acrylic for softness. If you want stiffer petals for decorations, a little diluted white craft glue brushed on the back (or a commercial fabric stiffener) will help, but only use these for flowers that won’t be worn on skin or given to small children.
Common Crochet Flower Problems and Fixes
The petals curl too much. This is normal, because seven stitches are packed into one base stitch. Steam-blocking and gently pressing the petals flat usually helps. You can also try a slightly larger hook, which gives the stitches more room.
The flower won’t lie flat. If the whole flower cups like a bowl, you probably have too many stitches or too tight tension. Check the count of each petal and try a hook half a size larger.
The center has a hole. Pull the magic ring tighter before joining, and use your tail to sew the gap closed at the back.
The petals look uneven. Check that you worked every petal into the correct stitch, and that you alternated a slip stitch and a petal all the way around. It’s easy to work two petals in a row without noticing.
The petals look too pointy. You may have worked the middle three double crochets with less height. Work each dc fully, and make sure you yarn over and complete each stitch.
Ways to Use Your Crochet Flowers
Once you have the pattern in your hands, you’ll find it’s surprisingly useful. Here are a few ideas that work especially well.
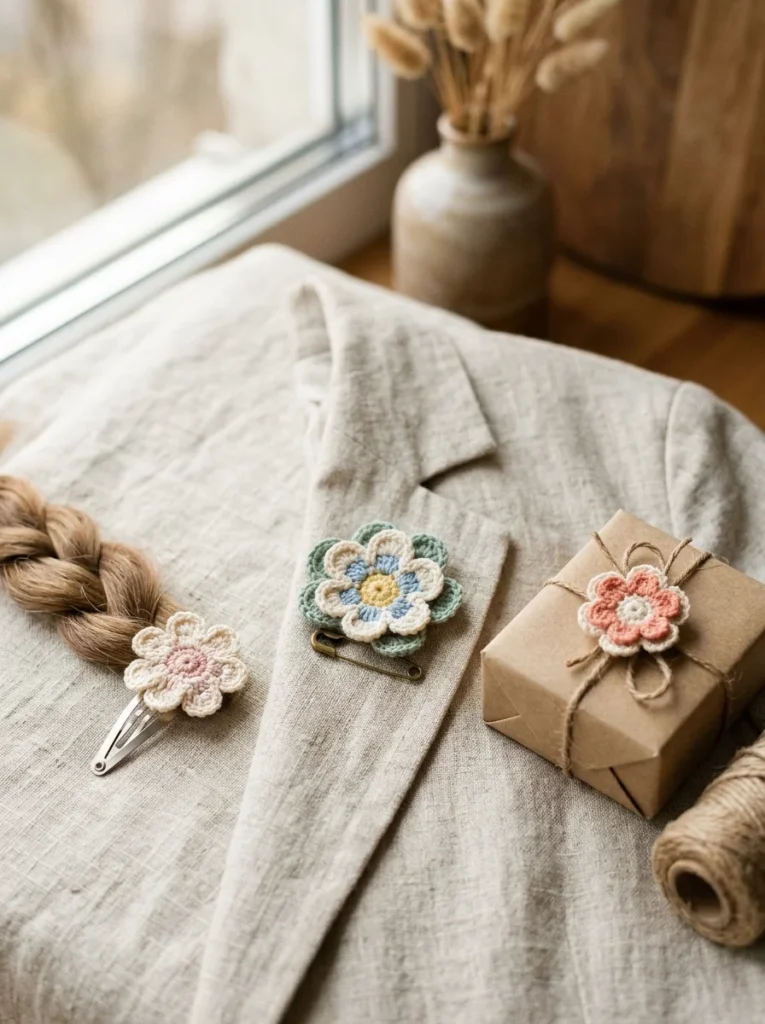
Accessories. Sew a flower onto a hair clip or elastic band, or attach a brooch pin to the back for a handmade accessory. Sewing the flower onto a small felt circle before you attach the pin makes it sturdier.
Gift toppers. A single flower tied to a wrapped gift with twine makes a tiny extra present the recipient can keep.
Home decor. String a dozen flowers along a length of yarn for a garland, or sew a few onto a cushion cover or curtain tie-back.
Bouquets. Sew each flower onto a green pipe cleaner stem (or a crocheted stem) and gather them in a small vase. A handmade bouquet never wilts.
Embellishments. Flowers are an easy way to decorate a crocheted bag, hat, or blanket, and they’re a good way to use up leftover yarn.
Amigurumi accessories. A small flower looks lovely sewn to the ear or neck of a crochet toy. It’s a sweet finishing touch on our free amigurumi bunny pattern, and there are more toy ideas in our guide to free amigurumi patterns.
A quick safety note: if the flower is going on something for a baby or small child, sew it on very securely, or skip beads and buttons, because small parts can be a choking hazard. For official toy safety guidance, see the U.S. Consumer Product Safety Commission or the rules in your own country.
Frequently Asked Questions
How long does it take to crochet a flower?
A simple five-petal flower takes about 15 minutes once you’re comfortable with the stitches. A two-layer flower takes around 25 minutes.
What is the best yarn for a crochet flower?
A smooth cotton yarn in worsted or DK weight gives the crispest petals. Acrylic is softer and easy to find in many colors.
What hook size should I use?
A 3.5 mm hook is a good starting point for worsted weight yarn. Go down a size for firmer petals, or up a size if the flower cups too much.
Can a beginner make this crochet flower?
Yes, if you know single crochet, half double crochet, and double crochet. The pattern only uses a few stitches, and each flower is small enough that it’s quick to try again.
Why does my crochet flower curl?
The petals are made by working seven stitches into one, so they naturally cup. Light steaming, a slightly bigger hook, and gentle pressing usually flatten them.
How do I make a crochet flower bigger?
Use a thicker yarn and a bigger hook, or change the number of petals: 12 stitches in round 1 gives six petals.
How do I turn a crochet flower into a hair clip?
Sew or glue the flower onto a small felt circle, then attach the felt to the clip. It’s sturdier than sewing the flower directly onto the clip.
Final Thoughts on This Crochet Flower Pattern Free Guide
A good crochet flower is really a lesson in how stitch height shapes fabric. Once you understand why the petals curve, you can change the number of petals, the size, and the colors, and you’ll never have to depend on a pattern for a simple flower again. Make a few in different yarns and hooks, keep the ones you like best, and you’ll quickly develop a feel for what works.
If this crochet flower pattern free guide was helpful, try turning one of your flowers into a decoration for a toy from our free amigurumi bunny pattern, or browse more ideas in our collection of free amigurumi patterns.