Easiest Crochet Stitch: Why Single Crochet Is Where Almost Everyone Should Start
Ask ten crocheters for the easiest crochet stitch and most will say single crochet. It’s the right answer, but it rarely comes with a reason, and without the reason it’s hard to trust. So here is the reason first, then the full method.
Single crochet is short. A short stitch means your hook travels only a small distance each time, so there are fewer loops to lose track of and less room for your tension to drift. It also makes a dense, firm fabric that keeps its shape while you’re still learning to control the yarn. Every row looks the same as the last, so when something goes wrong, you can see it straight away. Taller stitches are lovely, but they ask you to manage more loops at once, and that is the moment many beginners get lost.
This guide teaches the single crochet from the very first loop. It also explains the chain and the slip stitch, which you need before you can start, and shows you where the half double crochet and double crochet fit once you’re ready for them. Everything is written in US terms. If you follow a British pattern, the names shift by one step, and I’ve explained that below.
Start With What Your Hands Are Doing
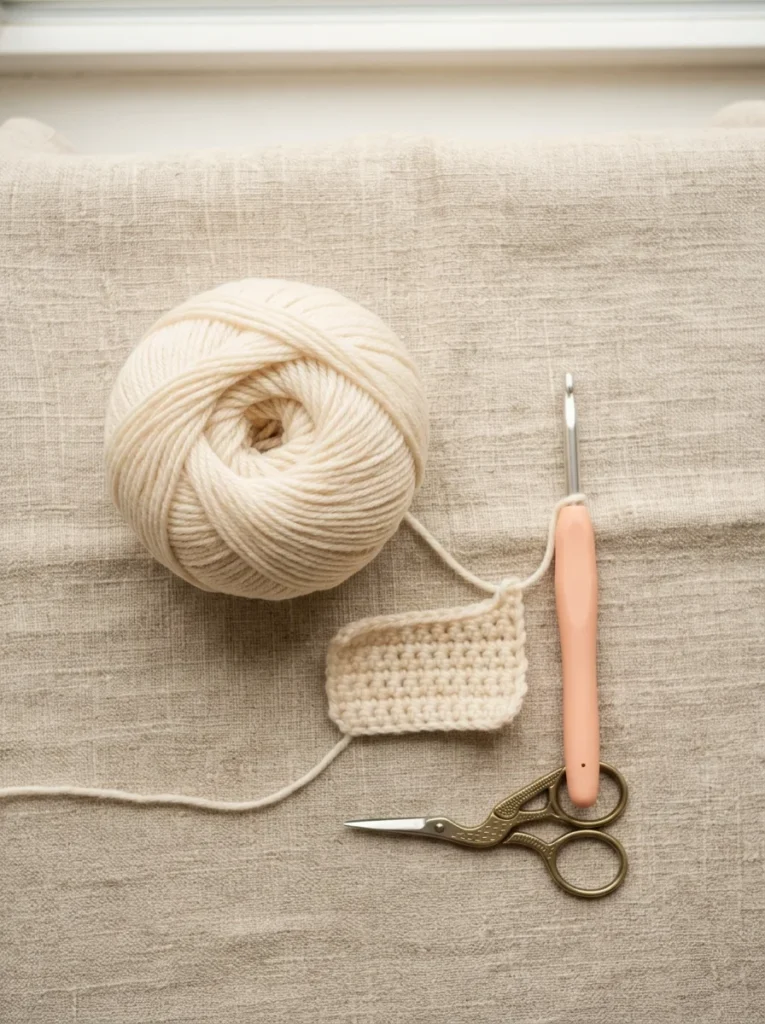
Before any stitch, a few words about the hook and yarn, because this is where most early frustration comes from. It has little to do with the stitch.
Hold the hook the way you’d hold a pencil, with the flat thumb rest under your thumb. Some people prefer to grip it from above, like a knife, and both are fine. Choose whichever leaves your wrist relaxed. Your other hand controls the yarn. The usual method is to pass the yarn between your little finger and ring finger, over your index finger, and to pinch the work with your thumb and middle finger. That weaving is what gives the yarn a little resistance, so the stitches come out even.
It will feel clumsy for the first twenty minutes. That’s expected, and it doesn’t mean you have a bad hand for crochet. Most people find the yarn grip is the last part to settle, so if your stitches are uneven on day one, this is almost always the reason. If the weaving feels impossible, just wrap the yarn once around your index finger and hold the tail. Your stitches will be less even, but you’ll still learn the movements, and you can refine the grip later.
A note for left-handed crocheters. Everything below works mirrored. Hold the hook in your left hand and work from left to right instead. Most video tutorials show a right-handed demonstration, so it helps to hold a mirror next to the screen or search specifically for left-handed versions.
Choose Yarn That Helps You
The wrong yarn can make the easiest stitch feel difficult. For learning, choose a smooth worsted-weight yarn in a light or medium color. Smooth means the strands are tightly twisted and don’t fluff. Light means you can see the top of each stitch, which matters when you’re counting. Avoid black and very dark shades, fuzzy or mohair-style yarn, and anything with a loose, splitty ply, since the hook keeps catching half the strand and dropping the rest.
For hook size, look at the label on the yarn band. It suggests a range. Pick a hook from the upper end of that range while you’re learning, for example 5.0 mm for many worsted yarns. A slightly larger hook gives you looser, more visible stitches, so it’s easier to see where the next one goes. Once your hands are confident, drop to a hook at the middle of the range for a firmer fabric. The Craft Yarn Council explains the standard yarn weight categories if you want to understand what “worsted” and “DK” mean.
Step One: The Slip Knot and the Chain
Every crochet project starts with a slip knot and a row of chain stitches. Since you can’t do single crochet without them, learn these first.
To make a slip knot, form a loop with the yarn, pull a second loop of yarn up through it, and place that second loop on your hook. Tighten it gently so it sits snug but slides freely.
To make a chain stitch, wrap the yarn over the hook from back to front (this is called a yarn over), then pull it through the loop already on the hook. That’s one chain. Repeat. The chain should look like a row of small V shapes stacked along the front, with a bumpy line along the back.
Make a chain of twenty-one and stop. The most common problem here is a chain that’s too tight to work into. If the loops feel like they’re gripping the hook, relax your fingers and pull the yarn through with less force. Some people choose a hook one size larger just for the foundation chain and switch back afterwards. That’s a real trick, and it works.
Step Two: Your First Single Crochet
You’re going to work into the chain you just made. Skip the first chain from the hook, which is the one closest to the hook, and use the second one.
- Insert the hook into the second chain from the hook. Go under the top loop of the V, or under both the top loop and the back bump if you can see it. The second option is sturdier, but both work.
- Yarn over, and pull the yarn back through the chain. You now have two loops on the hook.
- Yarn over again, and pull through both loops.
You now have one loop on the hook and one finished single crochet. That’s the entire stitch: insert, yarn over and pull up, yarn over and pull through two.
Repeat in the next chain, and the next, until you reach the end. You should have twenty stitches, since you skipped the first chain. Count them by looking at the little V shapes along the top of the row.
At this point, stop and look. The row should be roughly flat, and the tops of your stitches should look like a line of small Vs. If some stitches are much bigger than others, you’re probably pulling the yarn up too far in step two. If some are hard to work into, your tension is too tight. Neither is a failure. It’s simply what a first row looks like.
Step Three: Turning and Working the Second Row
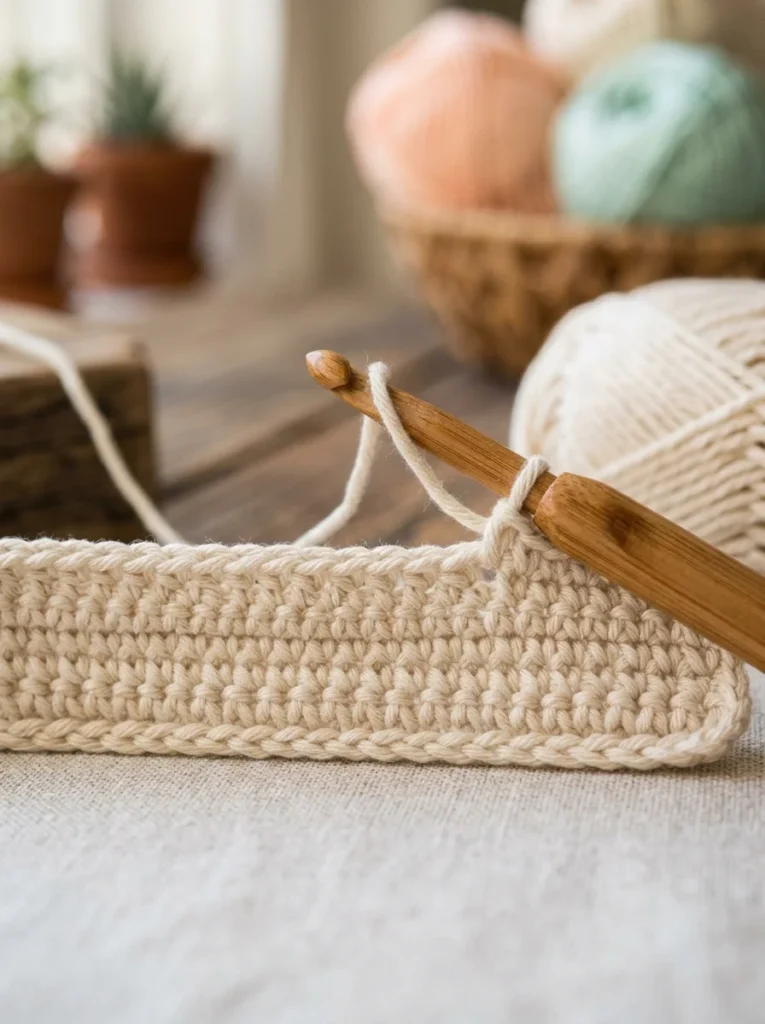
At the end of the row, chain one. This is the turning chain. Its job is to lift the yarn to the height of the next row, so the edge stays straight. In single crochet, the turning chain does not count as a stitch, and this is where beginners most often go wrong.
Turn your work over, like turning a page, so the back of the work now faces you. Skip the turning chain and work your first single crochet into the top of the very first stitch of the row. Then work one into each stitch across. Your last single crochet goes into the final stitch of the row, not into the turning chain from the previous row.
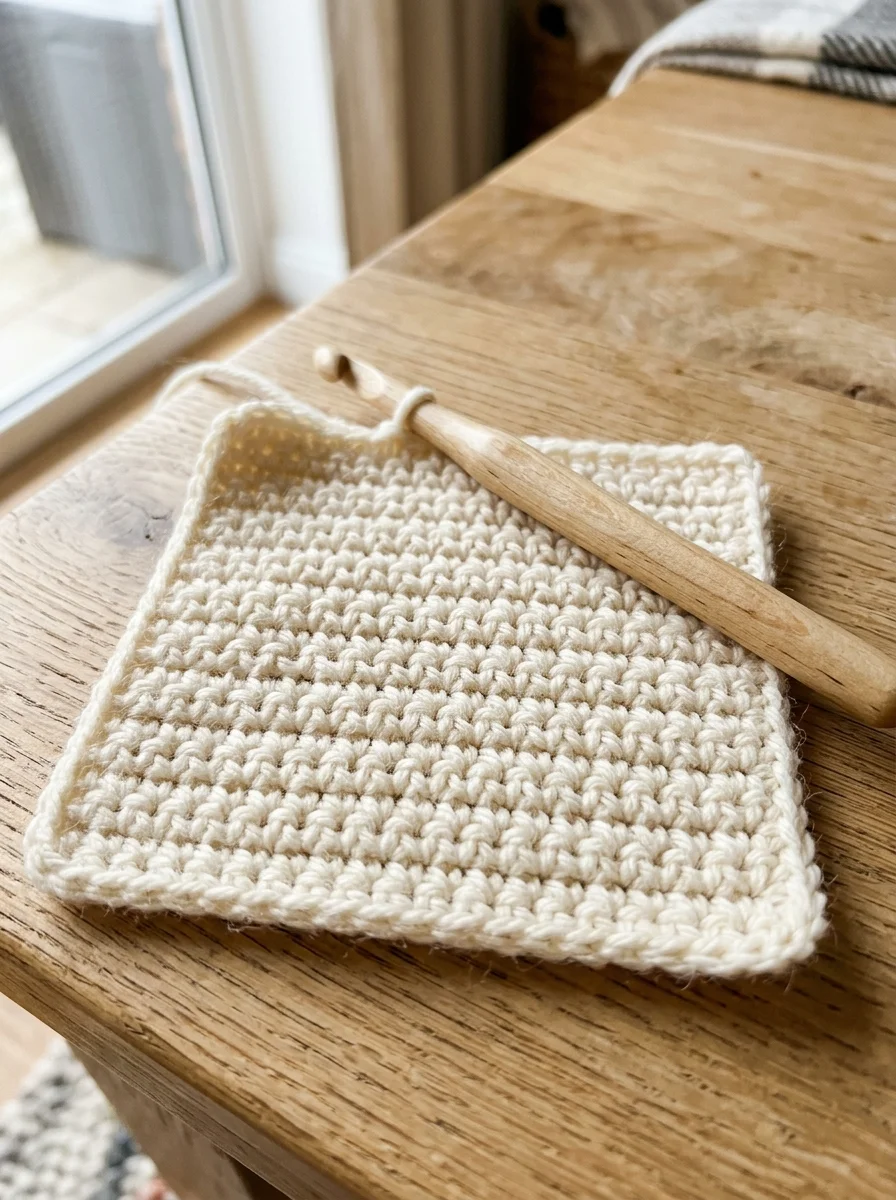
Every row from here is the same: chain one, turn, single crochet in each stitch across. Do nine or ten rows and you have a small square swatch, twenty stitches wide.
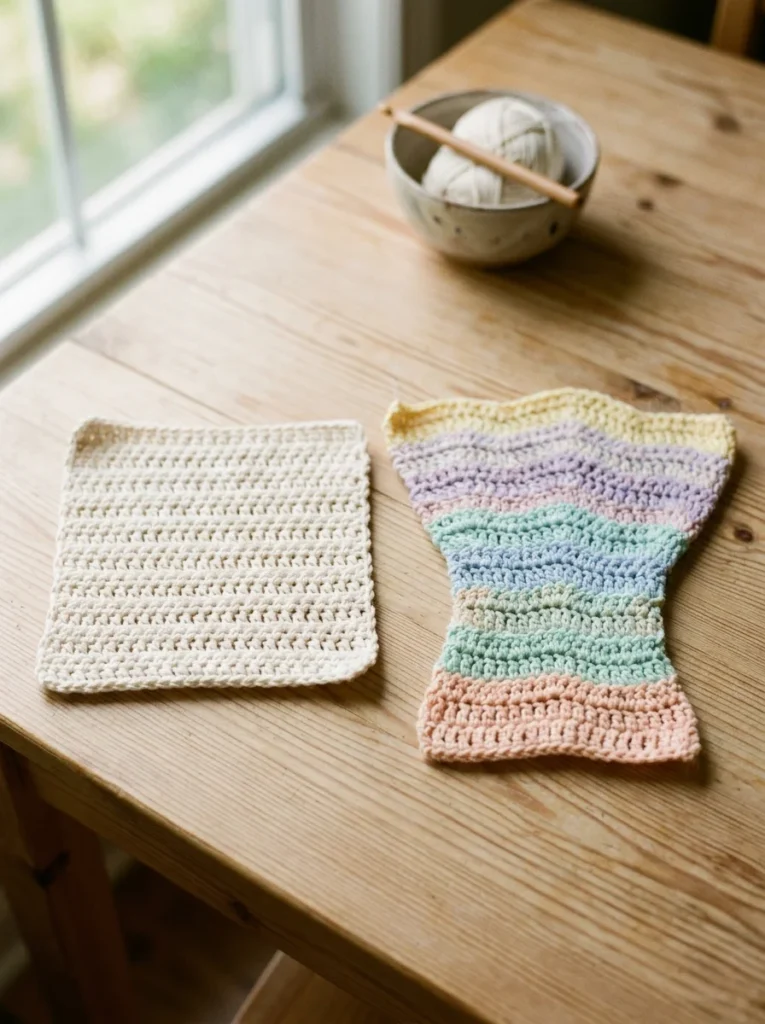
If your edges are wobbly and the stitch count keeps changing, it usually means one of two things. The first is that you’ve stitched into the turning chain and gained a stitch. The second is that you’ve missed the last stitch of the row and lost one. Both are easy to fix once you know to look for them: count at the end of every row until it becomes automatic.
Why Your Swatch Is the Most Useful Thing You’ll Make
It’s tempting to skip the swatch and go straight to a project. Try to resist that. A swatch teaches you what your stitches actually look like, and you can pick it apart and redo it as often as you like, so you’re practicing with no pressure.
Measure your swatch too. If your 20 stitches come out at about 10 cm (4 in) wide, you’re right on track for many patterns that use worsted yarn. If yours is much narrower or wider, that tells you something about your tension, and it will explain why your projects come out smaller or larger than the pattern. Beginners are often surprised that tension is a personal trait rather than a skill. The same person crochets tighter when tired or stressed and looser when relaxed, so it’s worth noticing how you’re feeling as you work.
Other Easy Stitches Worth Knowing
Once single crochet feels comfortable, a few other stitches are worth learning. None is hard, but each adds one new movement.
The slip stitch. This is the flattest and shortest stitch. Insert the hook, yarn over, and pull through both the fabric and the loop on your hook in one motion. On its own it’s stiff and a little awkward for a whole piece, so it’s mostly used for joining rounds and moving across a row without adding height.
The half double crochet. Yarn over first, then insert the hook, yarn over and pull up a loop (three loops on the hook), then yarn over and pull through all three. It’s taller than single crochet, so it works up faster and drapes more softly. It also introduces the idea of handling three loops at once, which is why I’d suggest learning single crochet first.
The double crochet. Yarn over, insert the hook, yarn over and pull up a loop (three loops), then yarn over and pull through two loops, and yarn over and pull through the last two. It’s taller again and fast for scarves and blankets. Many patterns for blankets rely on it. If that’s your goal, our free crochet blanket patterns guide shows how it’s used in real projects.
A note on UK terms. British patterns use different names for the same stitches. A US single crochet is a UK double crochet, and a US double crochet is a UK treble crochet. If a pattern seems to call for a stitch you don’t recognize, check which country’s terms it uses before you assume you’re doing something wrong.
Which Stitch Should You Actually Learn First?
It depends on what you want to make. If you want to make small things such as flowers, coasters, or toys, single crochet is the one, since a firm fabric holds its shape and stuffing doesn’t show through. If you want a scarf or blanket quickly, learn single crochet first anyway, so you know how the movements work, and then move on to half double or double crochet, which cover more ground per row.
For a first project after your swatch, the 30 minute crochet projects for beginners guide has six small patterns that only use the stitches in this article. If you want something even smaller, our crochet flowers for beginners guide starts with a flower you can finish in five minutes.
Five Mistakes Beginners Make With Single Crochet
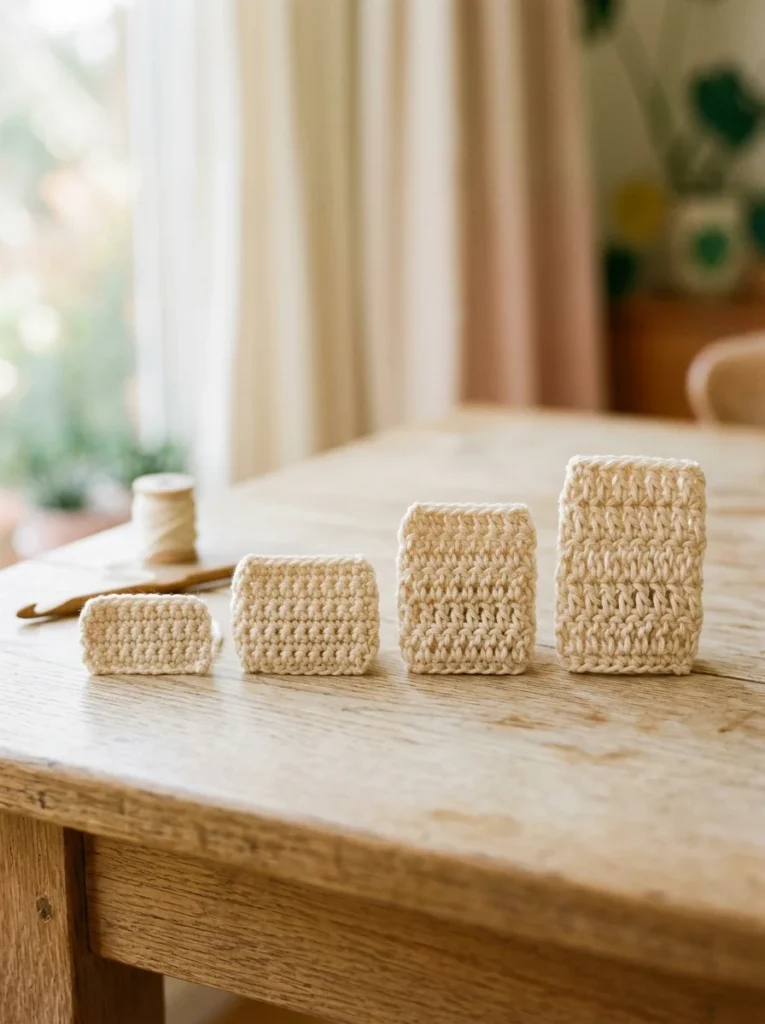
Pulling the loop too tight. If your hook struggles to go into the next stitch, you’re probably tightening the yarn after each stitch. Relax your grip and let the loop sit loosely on the hook shaft. The stitch should slide, not squeeze.
Missing the first or last stitch. The stitch at the edge is the easiest to overlook, because it looks different from the rest. Look for the two loops at the top and put your hook through both. Counting after each row shows you quickly whether you missed one.
Working into the turning chain. In single crochet, the turning chain isn’t a stitch. If you count it as one, your row grows by a stitch every time, and your swatch turns into a triangle.
Splitting the yarn. If the hook keeps catching only part of the strand, you’re either using splitty yarn or inserting the hook at an angle. Aim for the center of the stitch and keep the hook tip pointing slightly down.
Giving up after a bad first row. Nearly everyone has one. Pull the work out, wind the yarn back into a ball, and start again. The second attempt is almost always cleaner, because your hands have already learned something.
Where Single Crochet Takes You Next
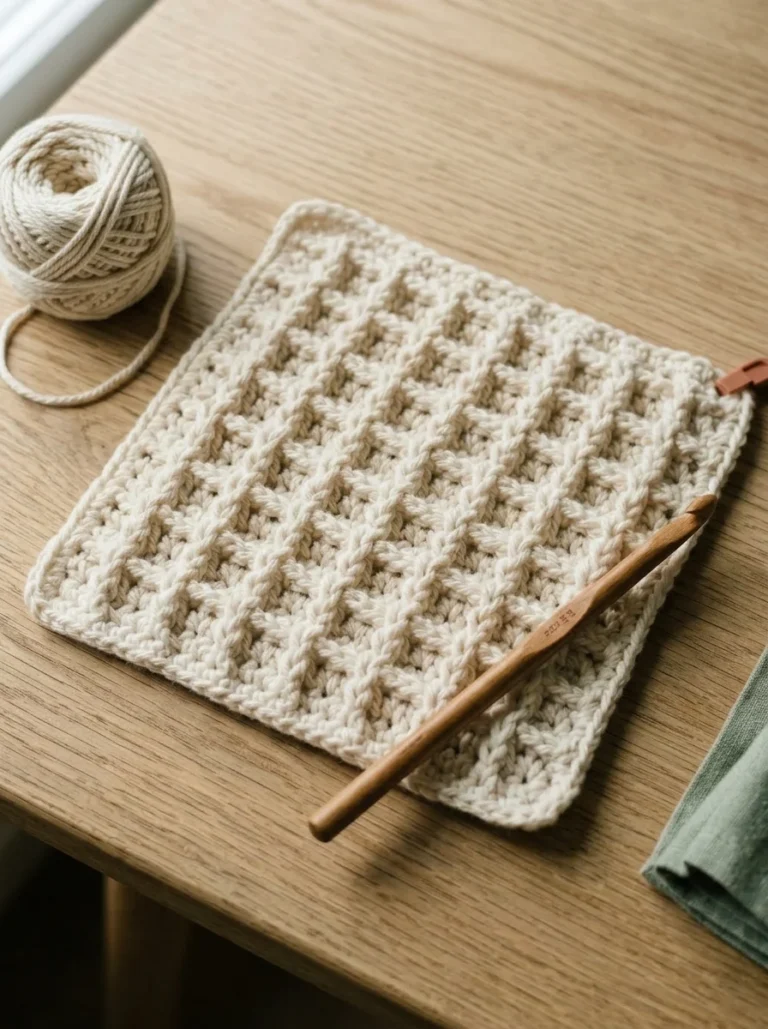
The stitch you’ve just learned is the foundation for a lot. It builds every amigurumi toy, from the simplest ball to a full character, and our amigurumi patterns free collection shows how far it goes. It also forms the base of textured stitches. Once you’re confident, the crochet waffle stitch uses the same basic movements with a different rhythm to create a deep grid. For more variety, our free crochet patterns for beginners guide sorts projects by difficulty, and you can use it as a roadmap for the next few weeks.
A flower like the ones in our crochet flower pattern free guide builds directly on this: it’s single crochet, chains and slip stitches arranged in a circle. When you’re ready for a bigger challenge, the unusual granny square crochet patterns guide introduces taller stitches.
Questions Beginners Ask About the Easiest Crochet Stitch
Is single crochet really the easiest crochet stitch? For most beginners, yes. It has the fewest loops to manage, the shortest movement, and the most forgiving fabric. The slip stitch is technically simpler, but it’s awkward to work in rows.
How long does it take to learn single crochet? Most people can make a recognisable row within an hour, but expect a few sessions before your stitches look even. Speed matters less than getting the movements right.
Why is my crochet getting narrower or wider as I go? You’re adding or losing stitches at the edges. Count your stitches at the end of each row and check whether you’re working into the turning chain or skipping the last stitch.
What hook size is best for learning? A 5.0 mm hook with smooth worsted yarn is a good start. The larger size makes the stitches easier to see.
Should I learn double crochet first because it’s faster? I’d recommend learning single crochet first. Double crochet builds on the same movements, and it’s easier once you know how the hook and yarn behave.
Final Thoughts on the Easiest Crochet Stitch
The easiest crochet stitch is the one that lets you see what you’re doing, and single crochet does that better than any other. Make the twenty-stitch swatch, count each row, and keep the swatch afterwards. In a month, compare it to what you’re making then. That’s the most encouraging thing a beginner can look at.
One Comment