
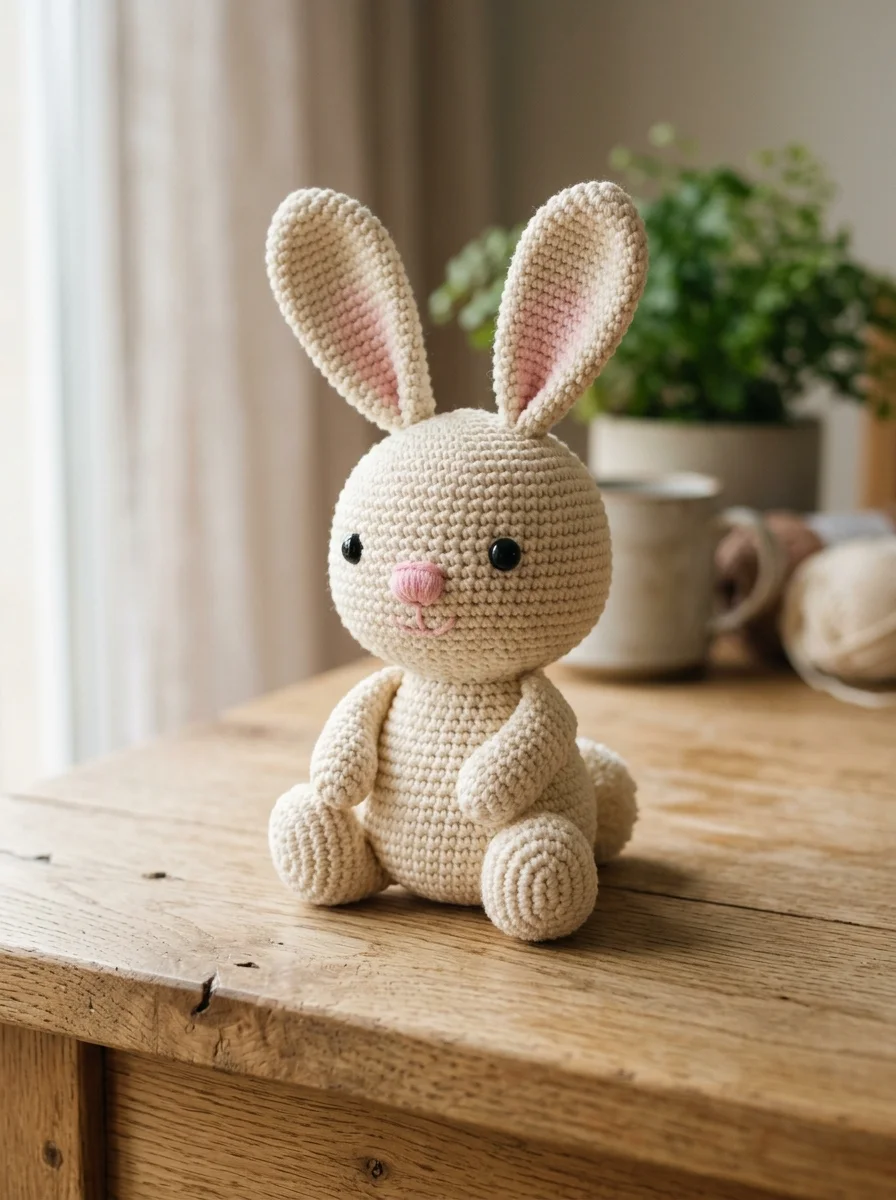
Amigurumi Bunny Pattern Free: Make Your Own Cute Crochet Bunny
If you’ve been looking for an amigurumi bunny pattern free of charge that you can actually follow from start to finish, this is it. You’ll get the supply list, every round with its stitch count, exactly where to sew each piece, and a section on what to do when something goes wrong. Nothing is hidden behind a sign-up, and you don’t need to watch a video to find out what happens in round 9.
A bunny is one of the best first animals to crochet. It’s built from shapes you already know how to make: a round head, an egg-shaped body, and a few small balls and tubes. There are no tricky color changes and no fiddly little details. What makes a bunny look good is not advanced skill, it’s patience with stuffing and sewing. That’s why most of this guide spends time on those two things.
If you’ve never made an amigurumi toy before, it’s worth reading our guide to free amigurumi patterns first. It explains yarn, hook sizes, and stuffing in more depth. Then come back here and start your bunny.
Pattern at a Glance
| Finished size | About 14 cm (5.5 in) tall when seated, including the ears. This changes with yarn and tension |
| Skill level | Confident beginner to easy |
| Time | Around 4 to 6 hours |
| Pieces | 9 (head, body, 2 ears, 2 arms, 2 feet, tail) |
| Techniques | Magic ring, single crochet, increase, decrease, basic sewing |
| Terms | US crochet terms |
What You Need for This Crochet Bunny
Before you pick up the hook, gather everything in one place. Amigurumi goes faster when you don’t have to stop halfway through a round to hunt for the stuffing.
Yarn
You need about 50 g of a main color for the whole bunny, plus small scraps for the nose. Choose a smooth, light-colored worsted weight yarn. Light colors show your stitches clearly, which makes counting much easier, and smooth yarn lets your hook glide instead of catching on fuzz. Cream, white, light gray, and pale pink all look lovely on a bunny.
Acrylic and cotton both work. Acrylic is soft and forgiving, so it’s the easier choice if you’re still getting used to the hook. Cotton gives a crisper, firmer bunny, but it has no stretch and can tire your hands. If you want to check what “worsted weight” means, the Craft Yarn Council’s yarn weight system explains the standard categories.
Hook
Start with a 3.0 mm hook for worsted weight yarn. This is smaller than the yarn label recommends, and that’s intentional. Amigurumi needs a dense fabric so the stuffing doesn’t peek through. If you finish your first piece and can see white fiberfill between the stitches, go down to a 2.5 mm hook and try again. It’s a small change that makes a big difference.
Other Supplies
You’ll also need polyester fiberfill, a pair of 6 to 8 mm safety eyes (or black yarn to embroider eyes if the toy is for a small child), a yarn needle, a stitch marker, scissors, pins, and a little pink or brown yarn for the nose. If you like, a small amount of blush or pink felt makes sweet cheeks.
Abbreviations and Pattern Notes
| Abbreviation | Meaning |
|---|---|
| MR | magic ring |
| sc | single crochet |
| inc | increase (2 sc in the same stitch) |
| dec | decrease (single crochet 2 stitches together) |
| FO | fasten off |
| ( ) | number of stitches at the end of the round |
A few notes will save you trouble. You work in a continuous spiral, so don’t join at the end of each round. Put a stitch marker in the first stitch of every round and move it up as you go, because it’s very easy to lose your place otherwise. And when you see something like “(3 sc, inc) x6,” it means repeat everything inside the brackets six times around the round.
The most useful habit in amigurumi is counting your stitches at the end of each round. It only takes a few seconds, and it catches mistakes while they’re still easy to fix. A bunny with an extra stitch in round 4 will look slightly lopsided no matter how well you sew it later.
If single crochet still feels awkward, practice the easiest crochet stitch for a while first, or try some of these free crochet patterns for beginners.
Amigurumi Bunny Pattern Free: Step-by-Step Instructions
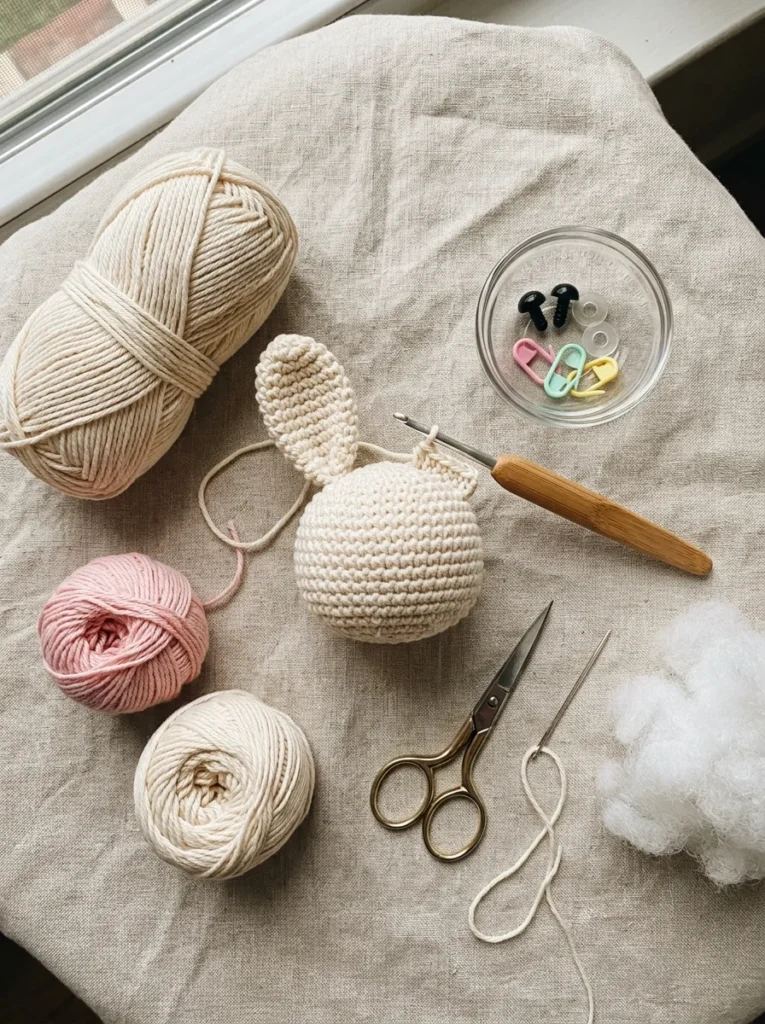
We’ll make the pieces in this order: head, body, ears, arms, feet, and tail. The head and body are the largest parts, so it helps to do them first while you still feel fresh. The small pieces go quickly after that.
Head
Start with a magic ring. The head is a simple ball: you increase for five rounds to make it wider, work straight for six rounds to give it height, and then decrease to close it up.
- R1: 6 sc in MR (6)
- R2: inc x6 (12)
- R3: (sc, inc) x6 (18)
- R4: (2 sc, inc) x6 (24)
- R5: (3 sc, inc) x6 (30)
- R6 to R11: sc in each stitch around (30) for 6 rounds
- R12: (3 sc, dec) x6 (24)
- R13: (2 sc, dec) x6 (18)
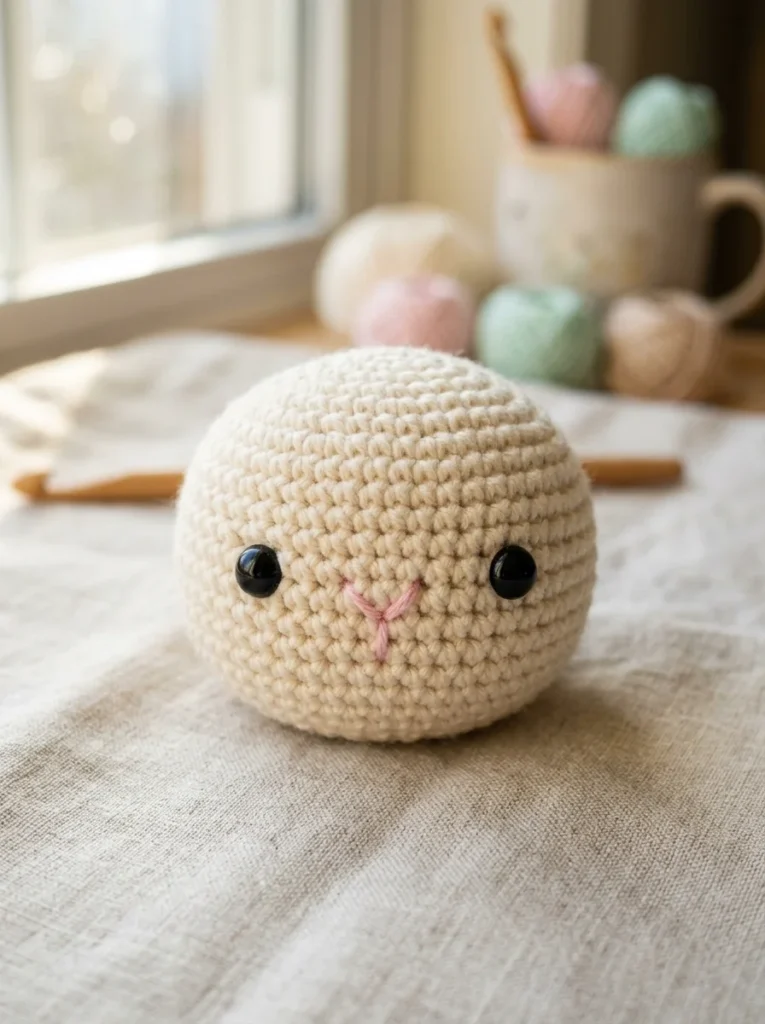
At this point, insert the safety eyes between R8 and R9, about 6 stitches apart. Before you snap the backs on, hold the head up and check that both eyes are level. Eyes that sit even a little too far apart or too low will change the whole personality of the bunny, and once they’re locked in they’re hard to move. Then stuff the head firmly and evenly, pushing small pieces of filling into the sides so it stays round rather than oval.
- R14: (sc, dec) x6 (12)
- R15: dec x6 (6)
Fasten off, leaving a short tail. Use your yarn needle to weave through the front loops of the last 6 stitches, pull tight to close the hole, and hide the end.
Body
The body starts the same way as the head, but it’s finished differently. You’ll narrow it toward the top so the head has a comfortable place to sit.
- R1: 6 sc in MR (6)
- R2: inc x6 (12)
- R3: (sc, inc) x6 (18)
- R4: (2 sc, inc) x6 (24)
- R5: (3 sc, inc) x6 (30)
- R6 to R10: sc around (30) for 5 rounds
- R11: (3 sc, dec) x6 (24)
- R12 and R13: sc around (24) for 2 rounds
- R14: (2 sc, dec) x6 (18)
- R15: sc around (18)
Stuff the body firmly, paying special attention to the base. A bunny with a soft, under-stuffed bottom will slump forward and refuse to sit up. Fasten off, leaving a long tail of about 40 cm for sewing on the head.
Ears (make 2)
The ears are worked from the tip down, so the widest part ends up at the base.
- R1: 6 sc in MR (6)
- R2: (sc, inc) x3 (9)
- R3: (2 sc, inc) x3 (12)
- R4 to R12: sc around (12) for 9 rounds
Don’t stuff the ears. Unstuffed ears stay soft and give the bunny a lovely floppy shape. Fasten off, leaving a long tail, then flatten the open end so the ear folds in half. That fold gives it a natural curve.
Arms (make 2)
- R1: 6 sc in MR (6)
- R2: (sc, inc) x3 (9)
- R3 to R9: sc around (9) for 7 rounds
Stuff the arms very lightly, just enough to give them a little shape. Fasten off and leave a tail for sewing.
Feet (make 2)
The feet are small plump ovals that help the bunny balance.
- R1: 6 sc in MR (6)
- R2: inc x6 (12)
- R3: (sc, inc) x6 (18)
- R4 and R5: sc around (18) for 2 rounds
- R6: (sc, dec) x6 (12)
Stuff the foot, then finish:
- R7: dec x6 (6)
Fasten off, close the hole, and leave a tail for sewing.
Tail
- R1: 6 sc in MR (6)
- R2: inc x6 (12)
- R3: sc around (12)
- R4: dec x6 (6)
Stuff lightly before closing and leave a tail for sewing. If you’d rather have a fluffy tail, you can make a small pompom from the same yarn instead.
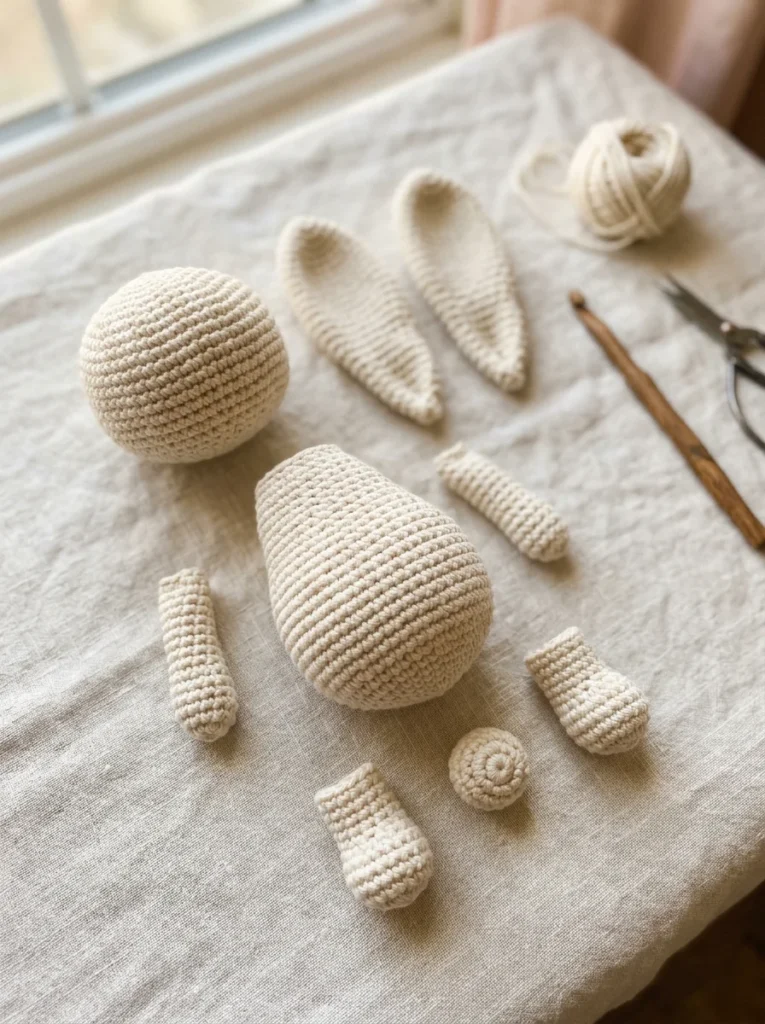
How to Assemble Your Amigurumi Bunny
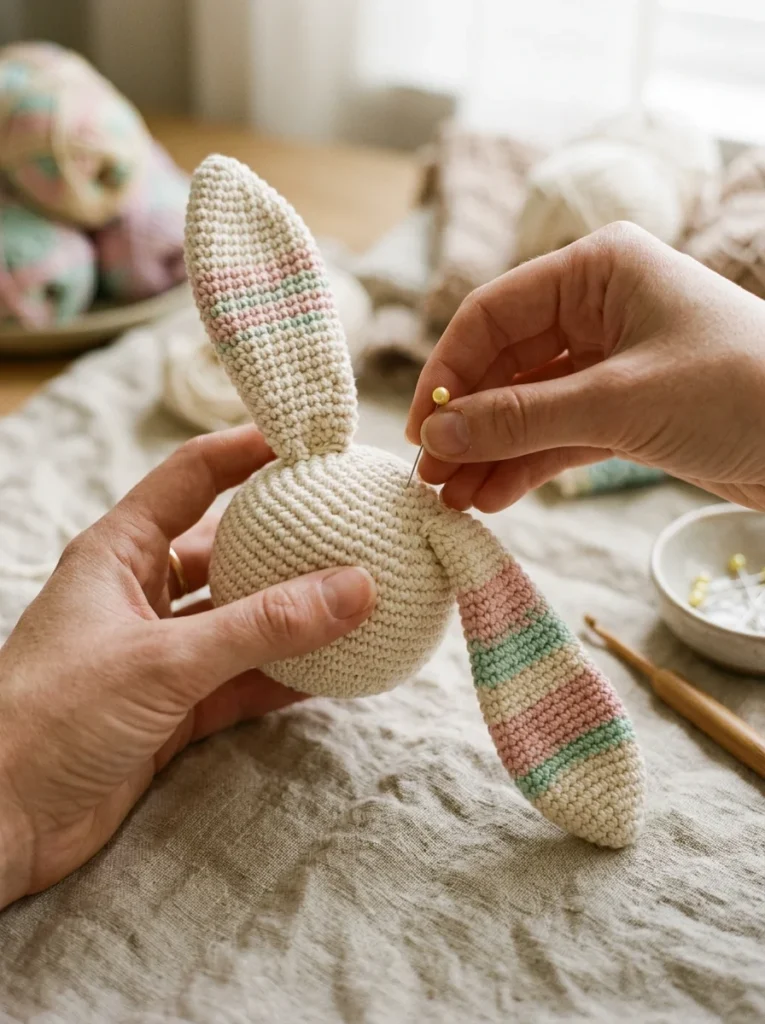
This is the part that decides whether your bunny looks charming or slightly off. Many people rush it. Don’t. Pin every piece in place before you sew anything, then look at the bunny from the front, the side, and the top. Move the pins until it looks right. It takes two minutes and can save you an hour of unpicking.
Start with the head. Center it on top of the body and sew it on with small, even stitches around the 18 stitches at the top of the body, catching the head’s stitches just above the closed hole. Go around twice, because a head that’s only sewn on once will wobble over time.
Next come the ears. Attach them to the top of the head around R3 to R4, with about 6 stitches between them. Angle them slightly outward for a cheerful look, or keep them straight for a more calm one. Sew the flattened end firmly, because ears get pulled and squeezed more than any other part.
For the nose, use pink or brown yarn and embroider a small triangle or a short horizontal stitch centered about one round below the eyes. A short vertical stitch underneath makes a simple mouth. Keep the stitches small and close together, and it will look much neater than a large, loose nose.
The arms go on the sides of the body around R11 to R12, close to the head, so they look like they’re resting against the tummy. The feet sit at the front of the base, around R3 to R5, pointing forward, which helps the bunny sit up without leaning back. Finally, sew the tail to the back of the body at the bottom, around R4 to R6.
Tips for a Neater Crochet Bunny
Most of the difference between a rough bunny and a polished one comes down to a few habits, not talent.
Tension matters more than skill. If your fabric looks loose or gappy, use a smaller hook instead of blaming your technique. A tight, even fabric hides the stuffing and holds its shape.
Stuff in small pieces. A big lump of fiberfill creates lumps in the toy, while small pieces pushed in gradually build a smooth, round shape. Use the blunt end of your hook to push filling into the corners.
Don’t overstuff the ears and arms. They should stay soft. Overstuffed arms stick out stiffly, and ears that are too firm won’t fold naturally.
Hide every yarn end. Weave each tail through the inside of the piece in two directions before trimming, otherwise it can work its way out after a wash. And use the same yarn for every piece: even the same color from two different dye lots can look slightly different side by side.
Common Amigurumi Bunny Problems and Fixes
The head looks flat or oval. This is almost always uneven stuffing. Add a little more filling to the sides before you close the top, and double-check that you worked all 6 straight rounds (R6 to R11).
The ears flop sideways. Try sewing them on with a wider base and go around the opening twice. If your yarn is very soft, the ears may simply be too light. Adding another round to the ear length can sometimes help them stand better.
The bunny leans forward. Check that the base is firmly stuffed, and move the feet slightly farther back on the body. A heavier head can also pull it forward, so make sure the head isn’t overstuffed compared to the body.
There’s a gap between the head and body. Add a second line of sewing stitches, and check that the top of the body is stuffed firmly enough to support the head.
The stuffing shows through the stitches. Go down a hook size, and check that you’re inserting the hook under both loops of every stitch.
Ways to Customize Your Amigurumi Bunny
Once you’ve made one bunny, changing it is easy, and this is where the pattern becomes yours.
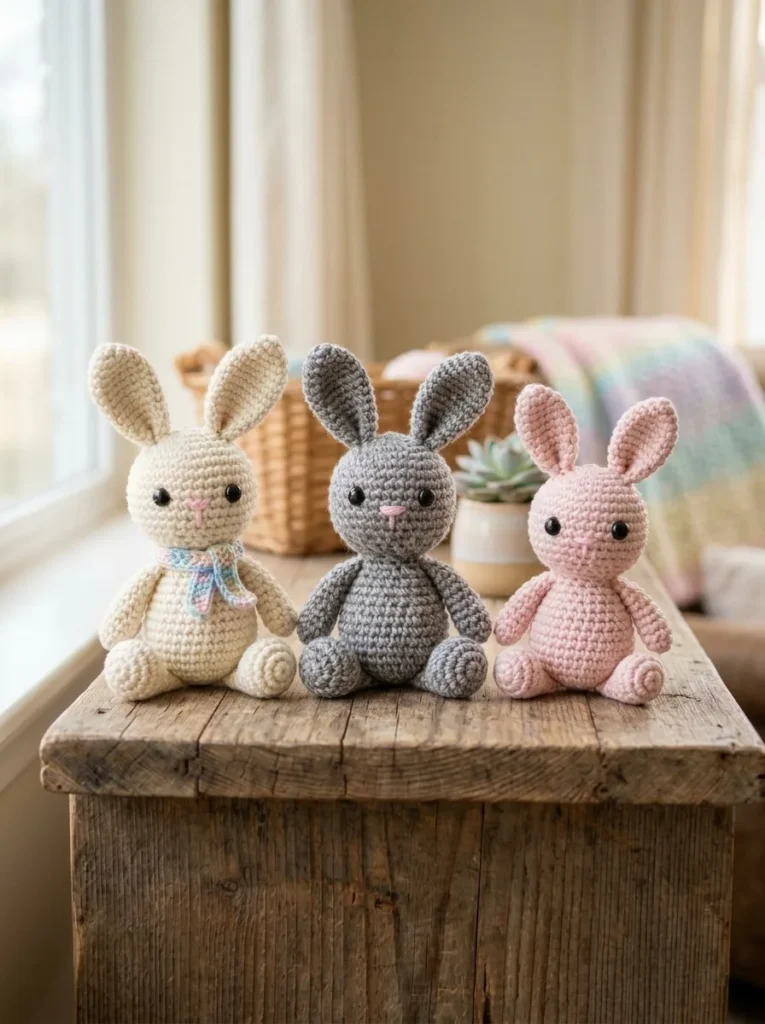
The simplest change is color. Try gray, brown, soft blue, or a two-tone bunny with different-colored ears and feet. Size is also easy to change: the same pattern in a chunky yarn with a larger hook gives you a much bigger bunny, and a thinner yarn with a smaller hook gives you a tiny one that fits in your palm. Just remember that the finished size will differ from the 14 cm listed above.
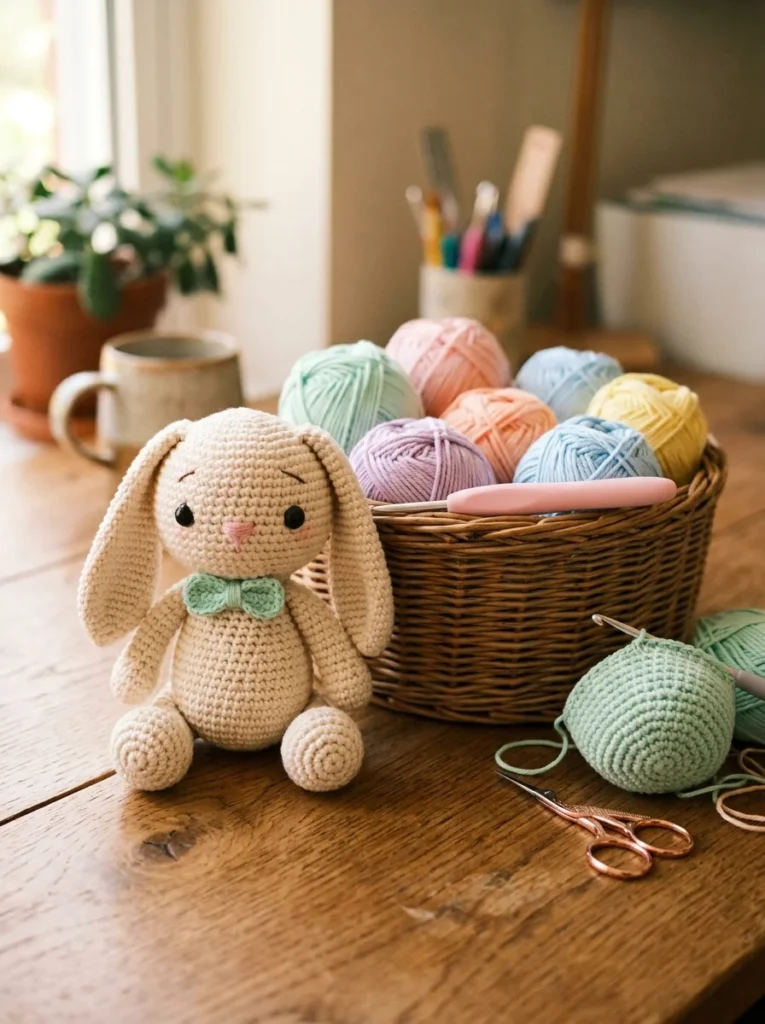
For personality, try sewing one ear on so it folds down for a lop-eared look, or crochet small pink ovals and sew them onto the front of each ear. A small crocheted scarf or bow tie is quick to make and changes the whole feel of the toy.
If you’re making a bunny for a baby or a child under three, skip the safety eyes and embroider the eyes instead. Also sew every part on securely and check the toy regularly for loose threads. For official guidance on toy safety, see the U.S. Consumer Product Safety Commission or the rules in your own country.
A pastel bunny also makes a lovely spring gift for Easter baskets, birthdays, or decorations. If you enjoy making small shapes like this, you might also like our crochet flower pattern. A bunny and a flower together make a sweet gift set.
How to Care for Your Crochet Bunny
A handmade toy lasts much longer if you look after it. Spot clean with a damp cloth and a little mild soap whenever you can. If it really needs a full wash, put it in a mesh laundry bag on a gentle cycle, or wash it by hand in cool water, after checking your yarn label. Let it air dry away from direct heat and reshape it while it’s still damp. Be aware that plastic safety eyes can loosen over time with heavy washing.
Frequently Asked Questions
How long does it take to crochet this bunny?
Most people need between 4 and 6 hours in total. A beginner may take a little longer, mostly because of the sewing at the end.
What yarn is best for an amigurumi bunny?
A smooth, worsted weight acrylic or cotton yarn in a light color. It’s easy to see your stitches, which makes counting and fixing mistakes much simpler.
What hook size should I use?
Start with a 3.0 mm hook for worsted weight yarn. If you can see the stuffing through your stitches, try 2.5 mm.
Can I make this bunny bigger?
Yes. Use a thicker yarn and a larger hook, and the same pattern will give you a bigger toy. You can also add extra straight rounds to the head and body.
Can a beginner make this crochet bunny?
If you know single crochet, increases, decreases, and how to start a magic ring, you can make this bunny. The shapes are simple and there are only nine pieces.
Is this bunny safe for babies?
Not automatically. Toys for babies and children under three need extra care: no safety eyes or buttons, very secure stitching, and regular checks. When in doubt, follow the toy safety rules in your country.
Final Thoughts on This Free Amigurumi Bunny Pattern
That’s the whole pattern: a head, a body, a pair of ears, and a few small pieces. Take your time with the sewing, because that is where a bunny gets its personality. Your first one may look a little wonky, and that’s completely normal. By the second, you’ll notice your stitches are more even and your stuffing is smoother.
If this amigurumi bunny pattern free guide helped you, explore more projects in our collection of free amigurumi patterns, and try adding a scarf or a small flower to your next bunny.
3 Comments