
Amigurumi Patterns Free: Cute Crochet Projects for Every Skill Level
If you love small crochet projects, amigurumi is one of the most satisfying places to spend your time. You use a little yarn, a few hours, and a handful of basic stitches, and you end up with something you can actually hold: a bunny, a tiny mushroom, a chubby whale for a friend’s new baby shelf.
The problem is that “free amigurumi patterns” can mean a hundred different things. Some free patterns are clear, well tested, and perfect for a first project. Others assume you already know how to shape a head, hide a color change, and sew on ears without them ending up in different postcodes.
This guide helps you sort that out. You’ll find the kinds of projects worth making, how to tell whether a pattern suits your skill level, what supplies you really need, how to get a neat finish, and how to fix the most common problems. Read it once, then use it every time you pick a new pattern.
table of content
the content titles
What Is Amigurumi?
Amigurumi (ah-mee-goo-roo-mee) is the Japanese art of crocheting or knitting small stuffed figures. The word combines amu (to crochet or knit) and nuigurumi (a stuffed doll). Today it almost always means a crocheted toy worked in rounds, usually in a spiral.
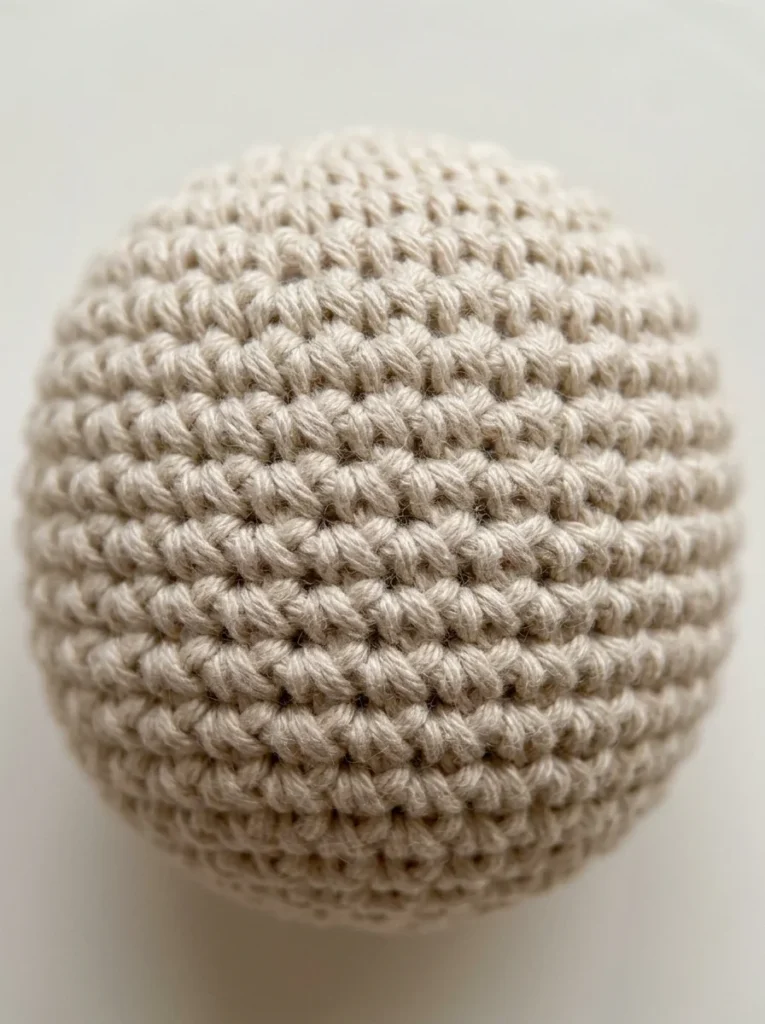
What separates amigurumi from an ordinary crocheted toy is mostly the fabric. Amigurumi is worked with a hook smaller than the yarn label suggests, which produces a tight, dense fabric so the stuffing stays hidden. Most figures are built from simple shapes: spheres, ovals, and tubes, joined together to make a body, head, ears, and limbs.
That is also why it’s so popular. Projects are small, they finish quickly, and one skill set (a magic ring, single crochet, increases, and decreases) gets you surprisingly far.
Free Amigurumi Patterns to Try
Rather than a giant list of pattern names, here are the project types that tend to work well, and why you might pick each one.
Cute Animal Amigurumi
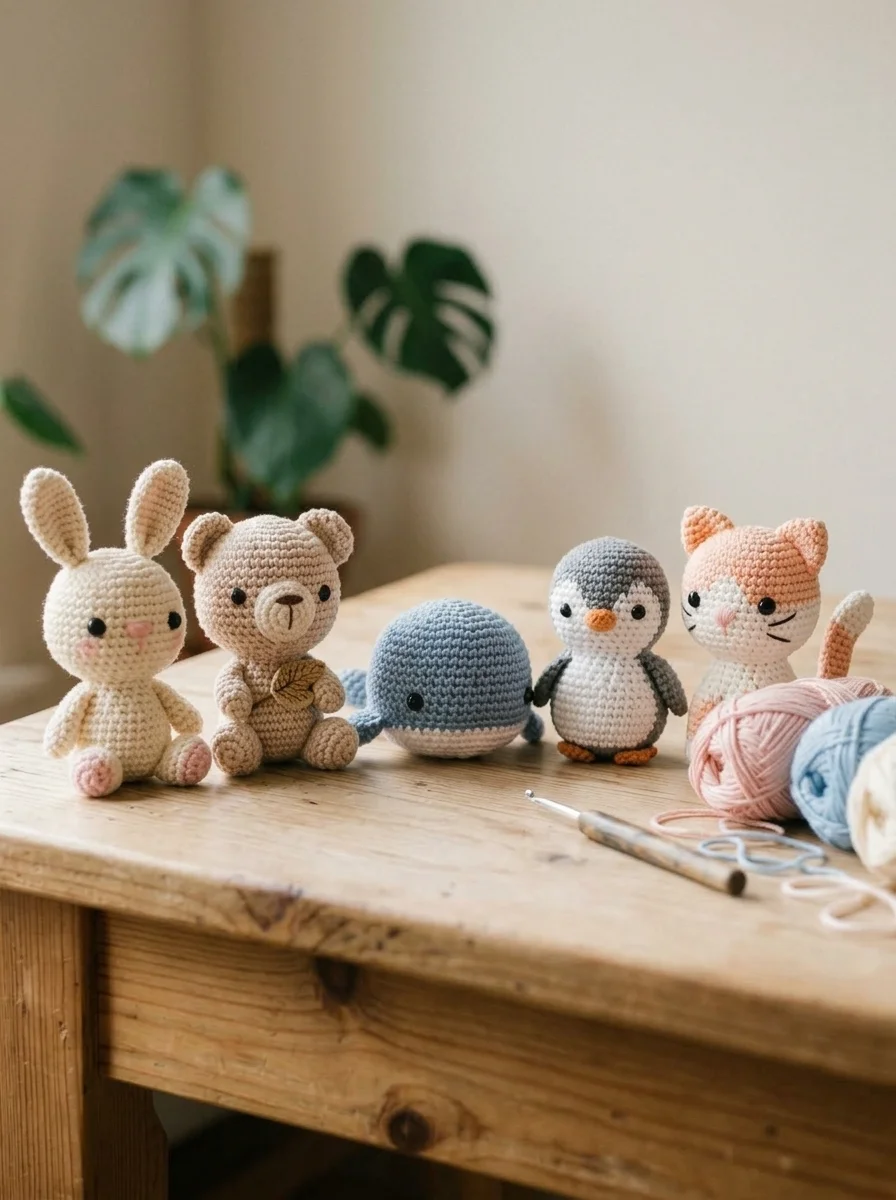
Animals are the heart of amigurumi, and they’re the most searched category for good reason. A few reliable choices:
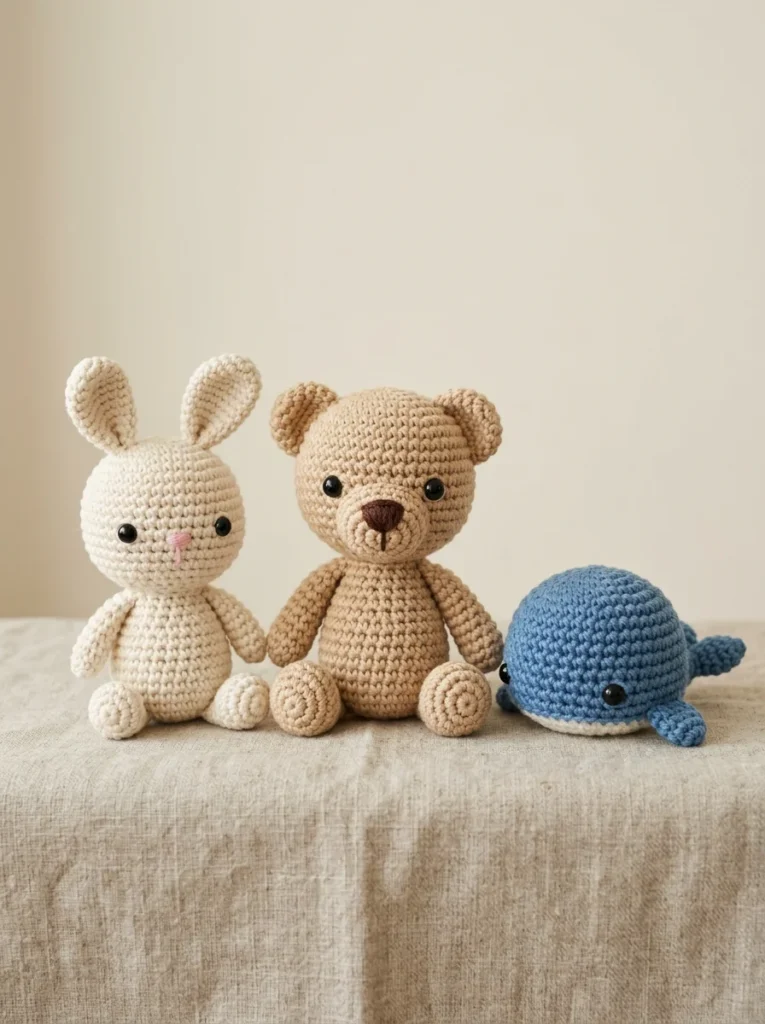
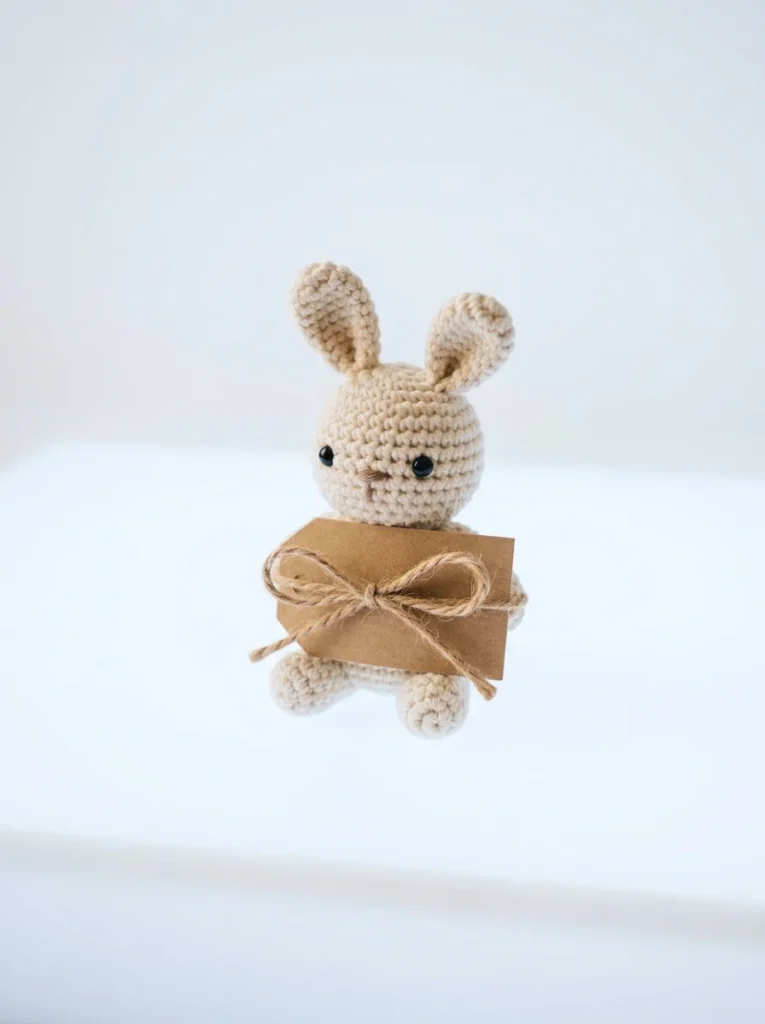
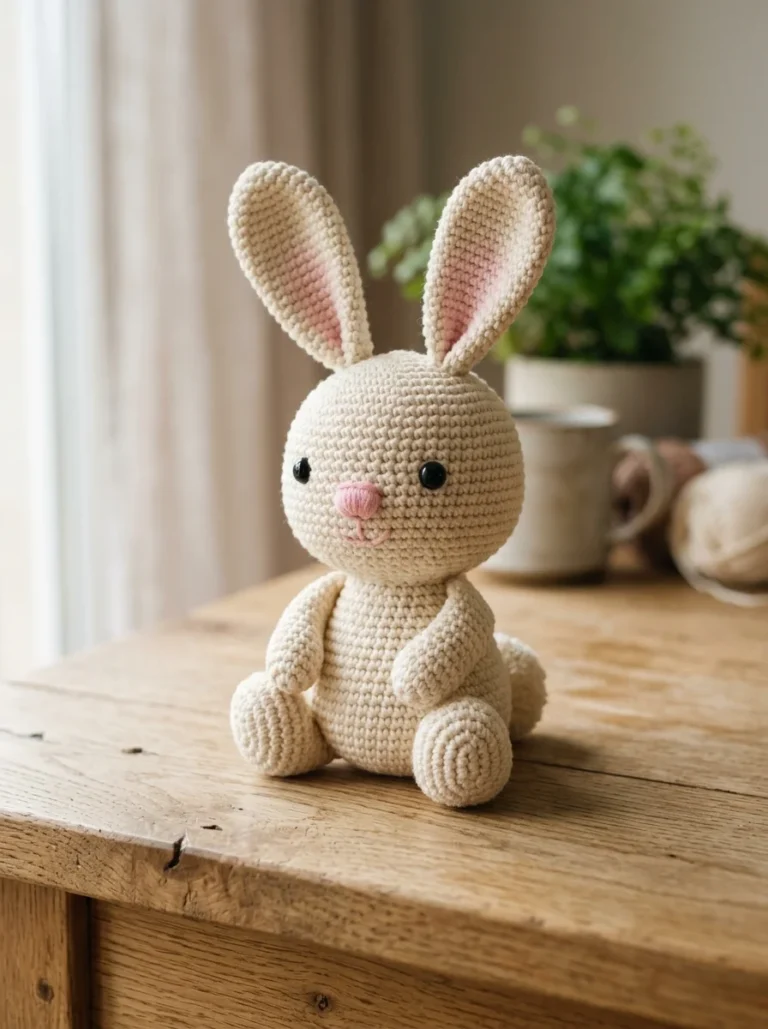
- Bunny: long ears, a round body, and a pompom tail. It’s a great first “real” toy because the shapes are simple and forgiving. If you want to start here, try our free amigurumi bunny pattern.
- Bear: a round head, small round ears, and short limbs. Very beginner-friendly, and a good way to practice attaching parts evenly.
- Cat: similar to a bear, but the pointed ears and tail add a little shaping practice.
- Dog: floppy ears and a snout make it a nice step up once you’re comfortable with assembly.
- Fox: a triangular face and bushy tail are fun, but they need more color changes and finishing.
- Whale: one large curved body with a tail. Often just two or three pieces, so it’s a good pick when you don’t want much sewing.
- Penguin: a mostly oval body with small flippers, and an easy way to practice switching colors.
Small Amigurumi Projects
Tiny projects deserve more credit than they get. Mini animals, fruits, mushrooms, hearts, stars, and keychain-sized figures use very little yarn, so a mistake costs you twenty minutes instead of an evening.
They’re also the best way to practice. Working a small ball ten times in a row teaches you more about even tension and neat decreases than a single giant project ever will. If you enjoy small decorative shapes, you may also like our crochet flower pattern, which uses many of the same round-based techniques.
Amigurumi Gifts
Handmade toys make thoughtful gifts, especially small ones. Good ideas include small animals for birthdays, personalized characters in someone’s favorite colors, and seasonal pieces such as ornaments or little pumpkins.
A quick note on safety: if a toy is meant for a baby or a child under three, don’t use safety eyes or buttons, since they can become choking hazards. Embroider the eyes instead, stitch every part on very securely, and check the finished toy for loose pieces. For official guidance, look at your country’s toy safety rules, such as the information from the U.S. Consumer Product Safety Commission.
Best Amigurumi Patterns for Beginners
Calling amigurumi “easy” isn’t very helpful. What actually makes a pattern beginner-friendly comes down to three things.
Start With Simple Shapes
Look for balls, ovals, and basic cylinders. A pattern built from a round head, a round body, and two simple ears has almost nothing that can go badly wrong. Avoid patterns with lots of tiny shaped details (fingers, curled tails, layered clothing) until you have a few finished toys behind you.
Look for Patterns With Fewer Pieces
A project with six separately crocheted parts and a complicated assembly order is not a good first project, even if the finished toy looks simple. Every extra piece means more sewing, more chances for uneven placement, and more yarn ends to hide. Two to four pieces is a comfortable range for a beginner.
Choose a Pattern That Uses Basic Stitches
Most beginner amigurumi uses only a handful of techniques:
- Magic ring: a way to start a round with no hole in the middle.
- Single crochet (sc): the stitch you’ll use for almost everything.
- Increase (inc): two single crochets in the same stitch, to make the shape wider.
- Decrease (dec): two stitches worked together, to make the shape smaller.
- Slip stitch (sl st): used to finish off and join.
If single crochet still feels awkward, spend an hour on it first. Our guide to the easiest crochet stitch is a good place to start, and if you’re brand new to the craft, our free crochet patterns for beginners will get you comfortable before you pick up a toy pattern.
What You Need to Make Amigurumi
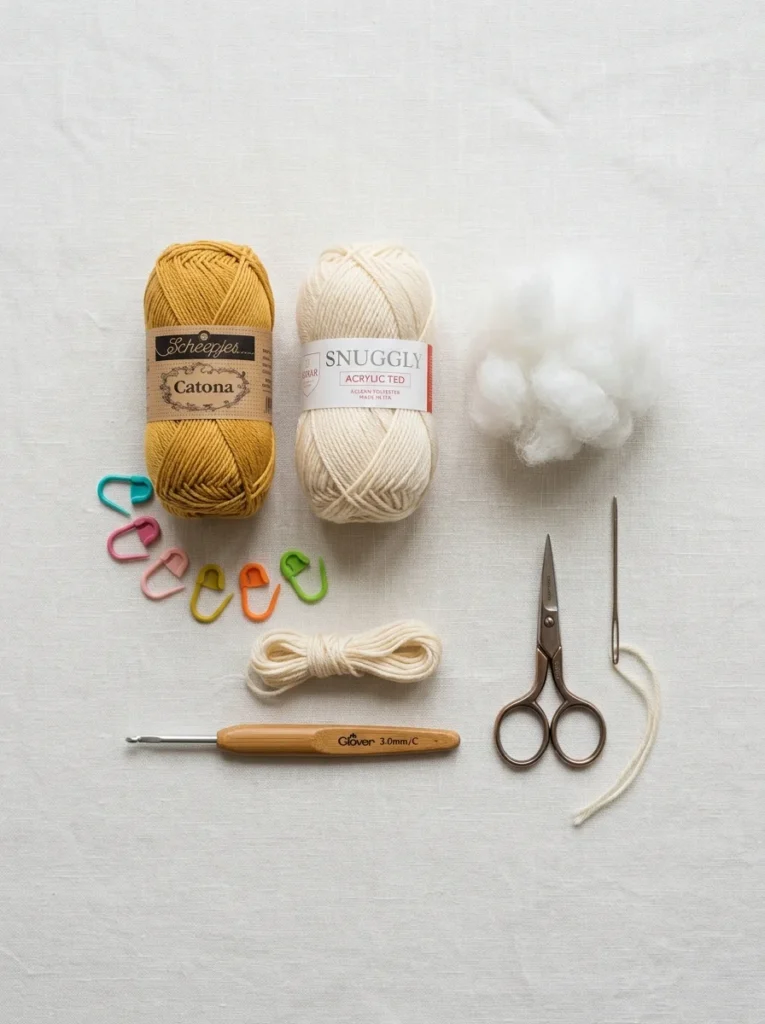
The supply list is short, and you probably don’t need to spend much.
Yarn
Most people choose either cotton or acrylic.
- Cotton gives very crisp stitches and a firm fabric, so stuffing hides well. It has no stretch, though, and can be hard on the hands.
- Acrylic is softer, cheaper, easy to find in every color, and more forgiving for beginners.
For your first projects, choose a smooth yarn in a light or medium color. Dark yarn hides your stitches and makes them hard to count. Fuzzy or textured yarn looks lovely when it’s finished, but it makes it very difficult to see what you’re doing. Save it for later.
Most patterns are written for a worsted weight or a sport weight yarn. You can check the standard yarn weight categories at the Craft Yarn Council.
Crochet Hook
Amigurumi usually uses a hook one or two sizes smaller than the yarn label recommends. This gives a tight fabric that hides the stuffing. There is no single perfect size. It depends on your yarn and how tightly you naturally crochet. As a starting point, try a hook around 2.5 to 3.5 mm with worsted weight yarn, then check whether you can see the stuffing through the stitches. If you can, go down a size.
Stuffing
Polyester fiberfill is the standard choice. It’s light, washable, and holds its shape. Pull it into small pieces rather than pushing in one big lump, and add it as you go. Firm, but not rock hard, is the goal.
Other Useful Tools
- A yarn needle (blunt tip, large eye)
- A stitch marker (a small safety pin or a scrap of contrasting yarn works fine)
- Sharp scissors
- Pins, for testing where to attach parts
- Safety eyes, if the toy is not for a small child
How to Get Neat Amigurumi Results
Neat amigurumi isn’t about talent. It’s mostly a handful of habits.
Keep your stitches tight and even. Loose stitches leave gaps, and gaps are where the stuffing shows through. If your work feels loose, drop your hook size before you blame yourself.
Stuff as you go. Stuff each piece before it closes too far to reach inside. Add a little at a time and push it into the corners with the blunt end of your hook or a pencil.
Don’t overstuff. It’s tempting, because a firm toy feels satisfying. But too much stuffing stretches the stitches, shows the filling, and can distort the shape.
Keep track of your rounds. Because you work in a spiral, it’s easy to lose your place. Put a stitch marker in the first stitch of every round and move it up as you go. Count your stitches at the end of each round, especially after increases and decreases.
Hide your yarn ends properly. Weave each tail through the inside of the piece, changing direction a few times, and trim it close. A loose tail tucked in quickly will come out again after a wash.
Common Amigurumi Mistakes and How to Fix Them
“My stuffing is showing.”
Almost always this means the fabric is too loose. Go down a hook size, pull each stitch snug, and make sure you’re inserting the hook under both loops of each stitch. A slightly denser yarn helps too. If you’ve already finished the toy, a lighter, fluffy stuffing pushed in deeper can hide small gaps.
“My toy looks lopsided.”
This is usually a counting problem. Check that every round has the correct number of stitches, and make sure the increases and decreases are spread evenly around the round rather than piled up in one spot. Uneven tension can also pull the shape to one side.
“The head doesn’t look round.”
Roundness comes from how the stuffing and the shaping work together. Stuff firmly and evenly before you begin the final decreases, and check that your decrease rounds are evenly spaced. A flat spot usually means one area is under-stuffed.
“My fabric feels too loose.”
If your work feels floppy, that’s the hook size again, or tension that changes from round to round. Try a smaller hook, and hold the yarn a little more firmly in your non-hook hand.
“My pieces don’t line up when I sew.”
Pin everything in place before you sew, then stand back and look at it from the front, the top, and the side. Move the pins until the placement looks right, and only then start stitching. It takes two extra minutes and saves a lot of unpicking.
How to Read an Amigurumi Pattern
Patterns can look like code the first time you see them. Here’s what the most common abbreviations mean:
| Abbreviation | Meaning |
|---|---|
| sc | single crochet |
| inc | increase (two sc in the same stitch) |
| dec | decrease (two stitches worked together) |
| sl st | slip stitch |
| MR | magic ring |
A few other things to know:
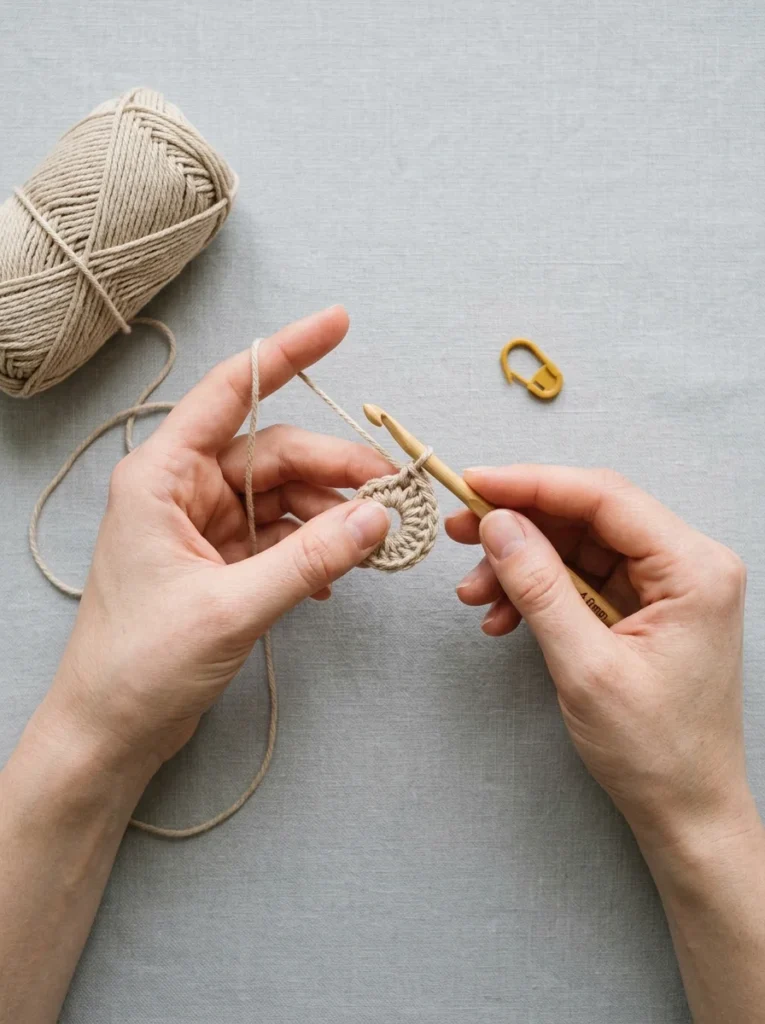
- Rounds are numbered (R1, R2, R3). Each row of instructions is one full trip around.
- Stitch counts appear in brackets at the end, like (12). Use them to check your work after every round.
- Repeats are shown with parentheses or asterisks. “(sc 2, inc) x 6” means do that whole set six times.
For example, a typical first round might be “6 sc in MR (6)” and the next might be “inc x 6 (12).” This is just the standard way to grow a flat circle into a ball. Once you can read this shorthand, you can follow almost any pattern.
Free Amigurumi Patterns by Difficulty
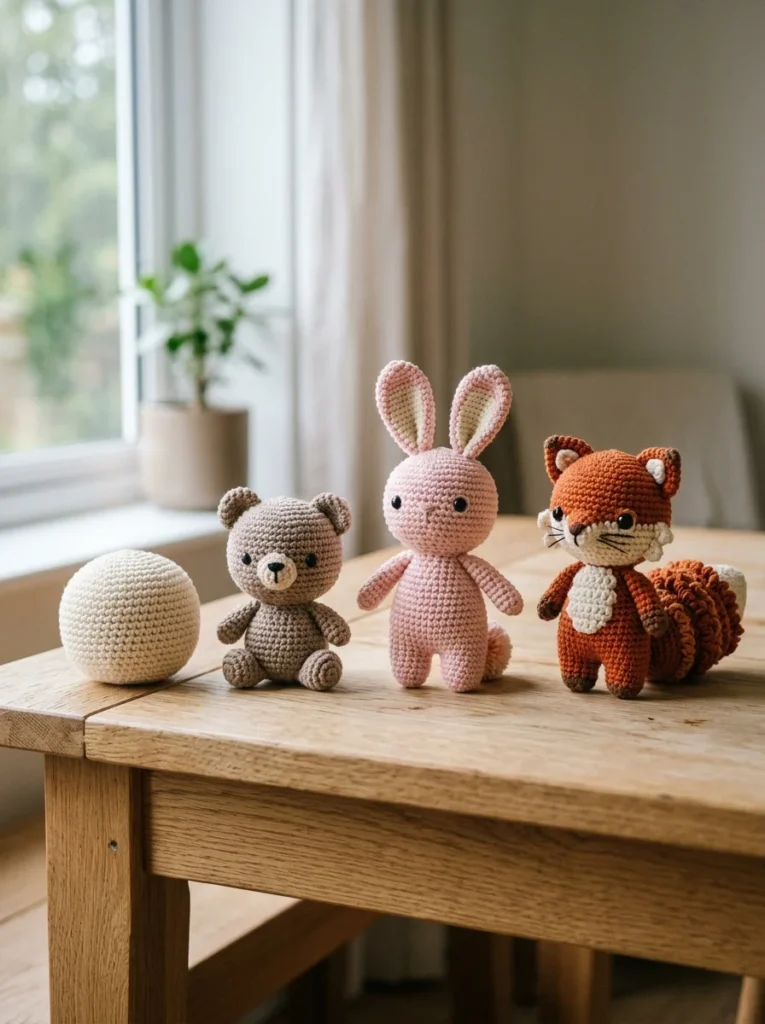
| Level | Good project types | What you’ll practice |
|---|---|---|
| Beginner | Simple ball, small animal | Single crochet, increases, decreases |
| Easy | Bunny, bear, simple fruit | Shaping and assembly |
| Intermediate | Detailed animals | More pieces and shaping |
| Advanced | Complex characters | Detailed shaping and finishing |
Don’t skip levels because you feel impatient. A neat beginner project is worth more than an ambitious one that ends up in a drawer.
How to Choose the Right Amigurumi Pattern
Before you commit to a pattern, run through this quick checklist:
- Skill level: does it match what you can actually do right now?
- Yarn requirements: do you already own it, or need to buy it?
- Hook size: is it in your kit?
- Number of pieces: fewer is easier.
- Sewing required: how much assembly is there?
- Finished size: will it fit its purpose?
- Special techniques: color changes, embroidery, or unusual stitches?
- Safety: if it’s a toy for a child, can it be made without small parts?
If most of these answers feel comfortable, you’ve found a good pattern.
Amigurumi Ideas for Gifts
- Birthday gifts: a small animal in the recipient’s favorite color.
- Handmade gifts: personalized characters, like a pet lookalike.
- Nursery decoration: soft decorative pieces meant to be looked at, not chewed on.
- Seasonal projects: little ornaments, pumpkins, or hearts.
- For crochet lovers: a mini toy that doubles as a stitch marker or bag charm.
- Small gifts: keychains and mini animals, ideal when you want to give something modest but personal.
As always, if a gift is for a very young child, keep to the safety notes above.
Frequently Asked Questions
What is the easiest amigurumi to crochet?
A simple ball or a small round animal with few or no extra parts. These use only the magic ring, single crochet, increases, and decreases.
What yarn is best for amigurumi?
A smooth, medium-weight yarn in a light color. Acrylic is forgiving and affordable, and cotton gives a very firm finish.
What crochet hook size should I use for amigurumi?
Usually one or two sizes smaller than the yarn label suggests. For worsted weight yarn, 2.5 to 3.5 mm is a common starting range, adjusted until the stuffing doesn’t show.
Why is my amigurumi full of holes?
Your hook is probably too large or your tension too loose. Use a smaller hook and pull each stitch snug.
Is amigurumi suitable for beginners?
Yes, as long as you pick the right project. Start with simple shapes and fewer pieces, and once you’re comfortable with single crochet it’s very approachable.
How do I make amigurumi look neat?
Keep your tension tight, stuff gradually, count your stitches, pin parts before sewing, and hide every yarn end.
Where to Go Next
Pick one small project, use smooth yarn, and finish it before starting anything more complicated. When you’re ready for your first proper animal, our free amigurumi bunny pattern is a friendly next step.
4 Comments